Customer management
Set up the customer accounts that orders, invoices, and deliveries hang off — who they are, where their stock goes, who to call, and how much credit they have.
Before you begin
You need customers:view to open the list and customers:update to change anything. Tags and the communication log need the separate CRM permissions covered below.
The customers page
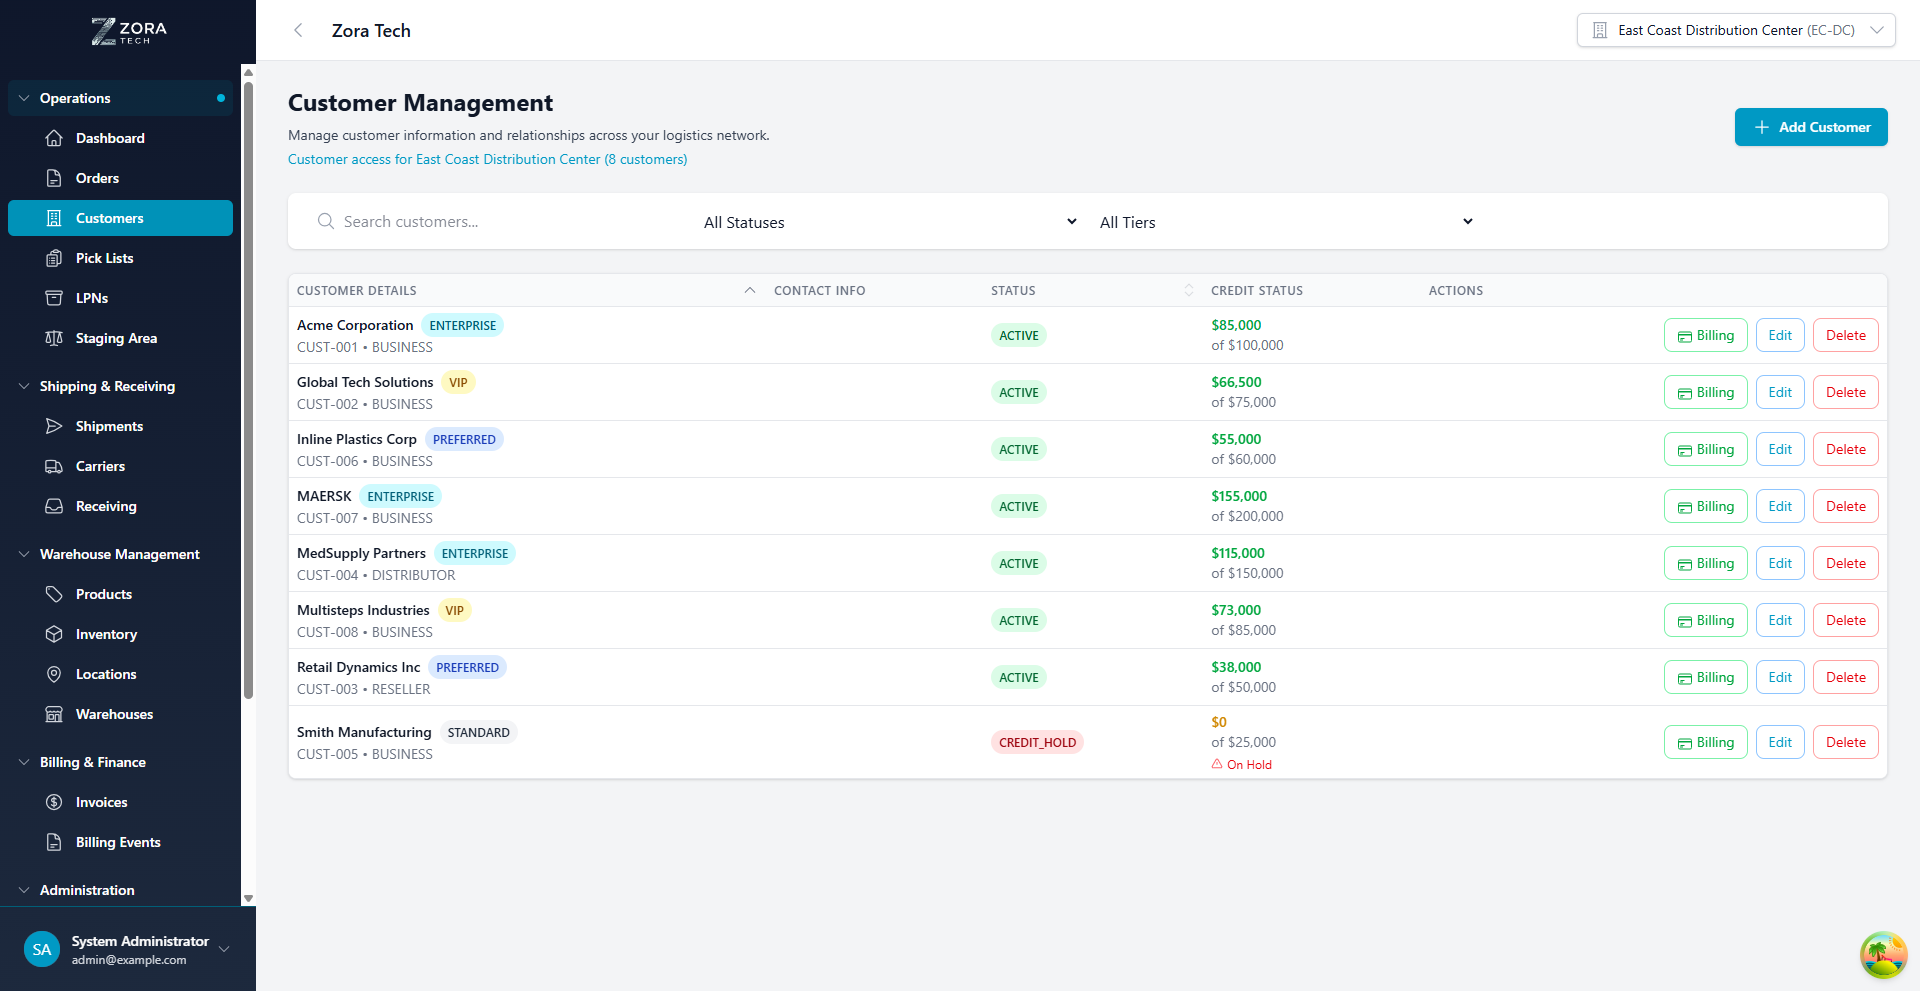
Open Catalog → Customers.
| Tool | What it does |
|---|---|
| Search | Finds customers by company name or customer code, updating as you type |
| Status filter | Active, Inactive, Credit Hold, Suspended |
| Tier filter | Standard, Preferred, VIP, Enterprise |
| Tags filter | Shows customers carrying any of the tags you pick |
| Add Customer | Creates an account |
Click a column header to sort by name, status, credit standing, or type.
Two ways into a customer
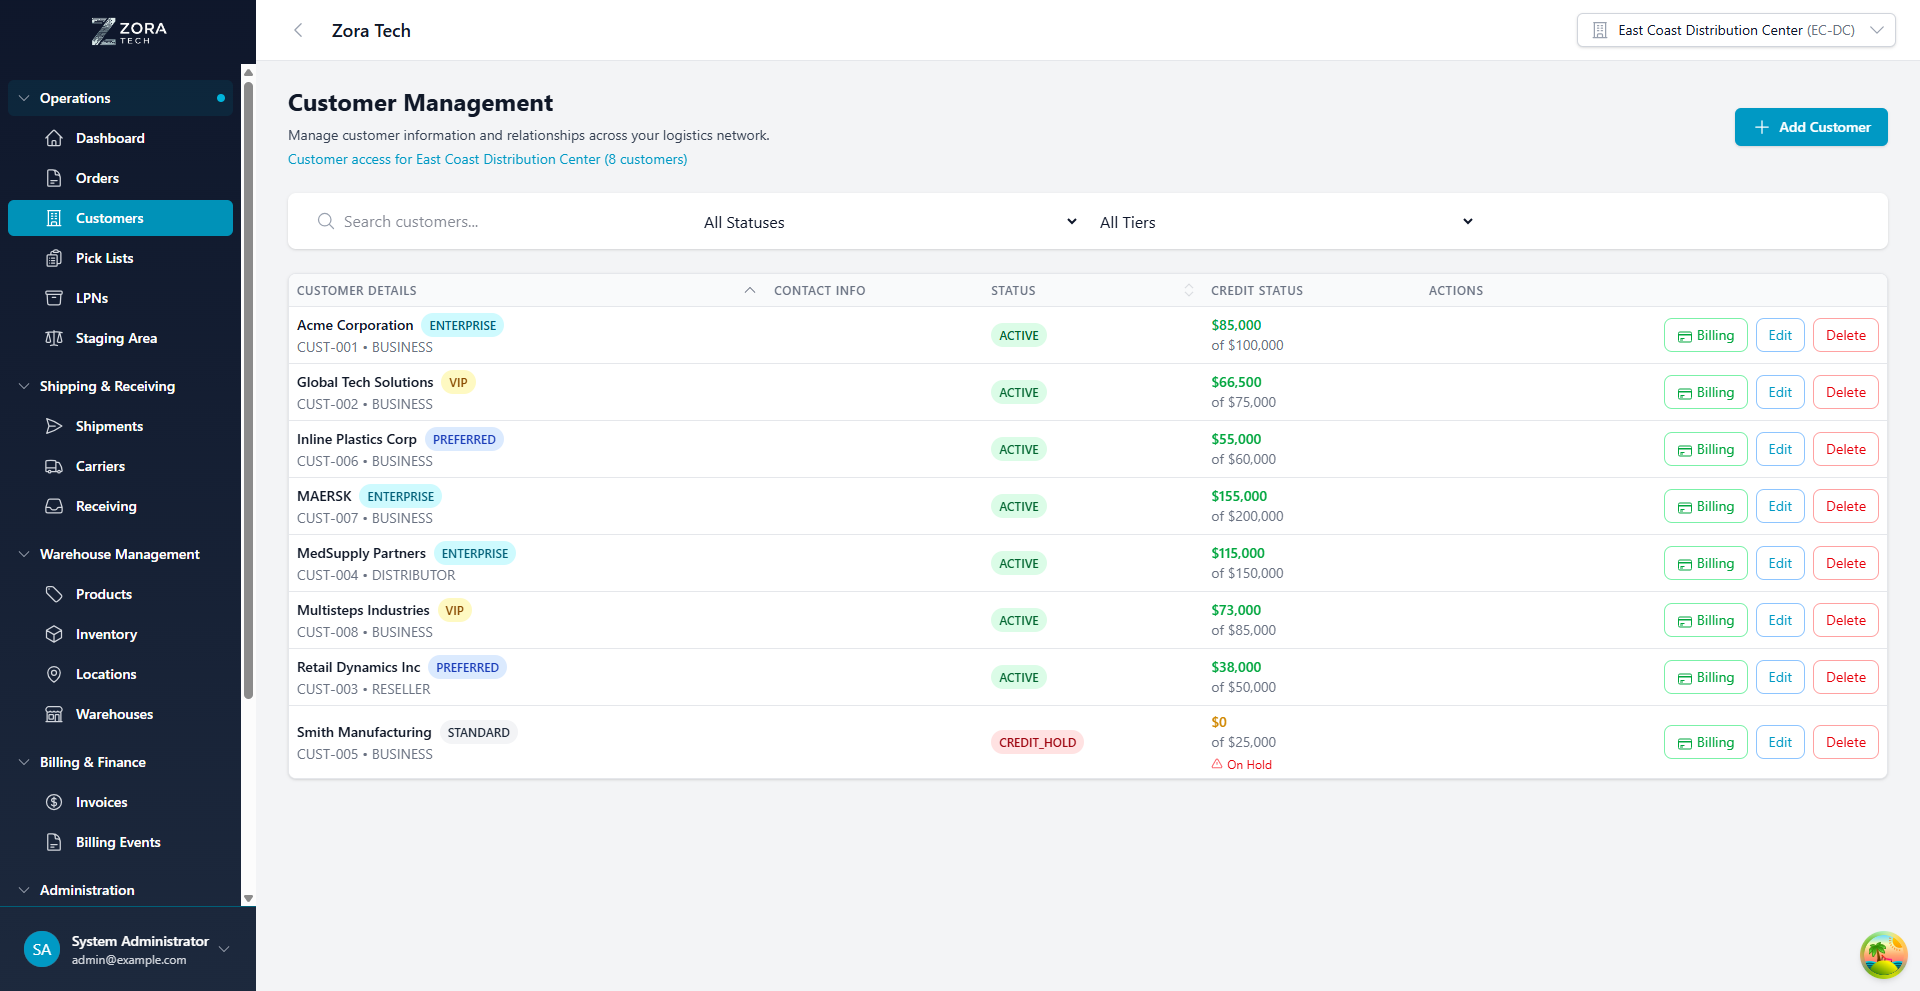
Clicking a row opens the full customer workspace. The Edit action on the row opens a quick-edit dialog instead, without leaving the list.
What a customer record holds
Who they are
| Field | Notes |
|---|---|
| Company Name | Required |
| Customer Code | Generated for you, like CUST-001 |
| Customer Type | Individual, Business, Reseller, or Distributor |
| Customer Tier | Standard, Preferred, VIP, or Enterprise |
| Status | See statuses below |
| Tax ID | Optional |
| Sales Rep | Optional — who owns the account |
Money
| Field | Notes |
|---|---|
| Credit Limit | The most they're allowed to owe you |
| Current Balance | What they owe now |
| Payment Terms | NET30, NET60, Due on Receipt, COD, or Prepay |
| Preferred Shipping Method | The carrier to use unless told otherwise |
Addresses and contacts
A customer can have as many addresses and contacts as they need. Each address is typed Billing, Shipping, or Both, and carries a label you choose. Each contact is typed Primary, Billing, Purchasing, or Receiving.
Creating a customer
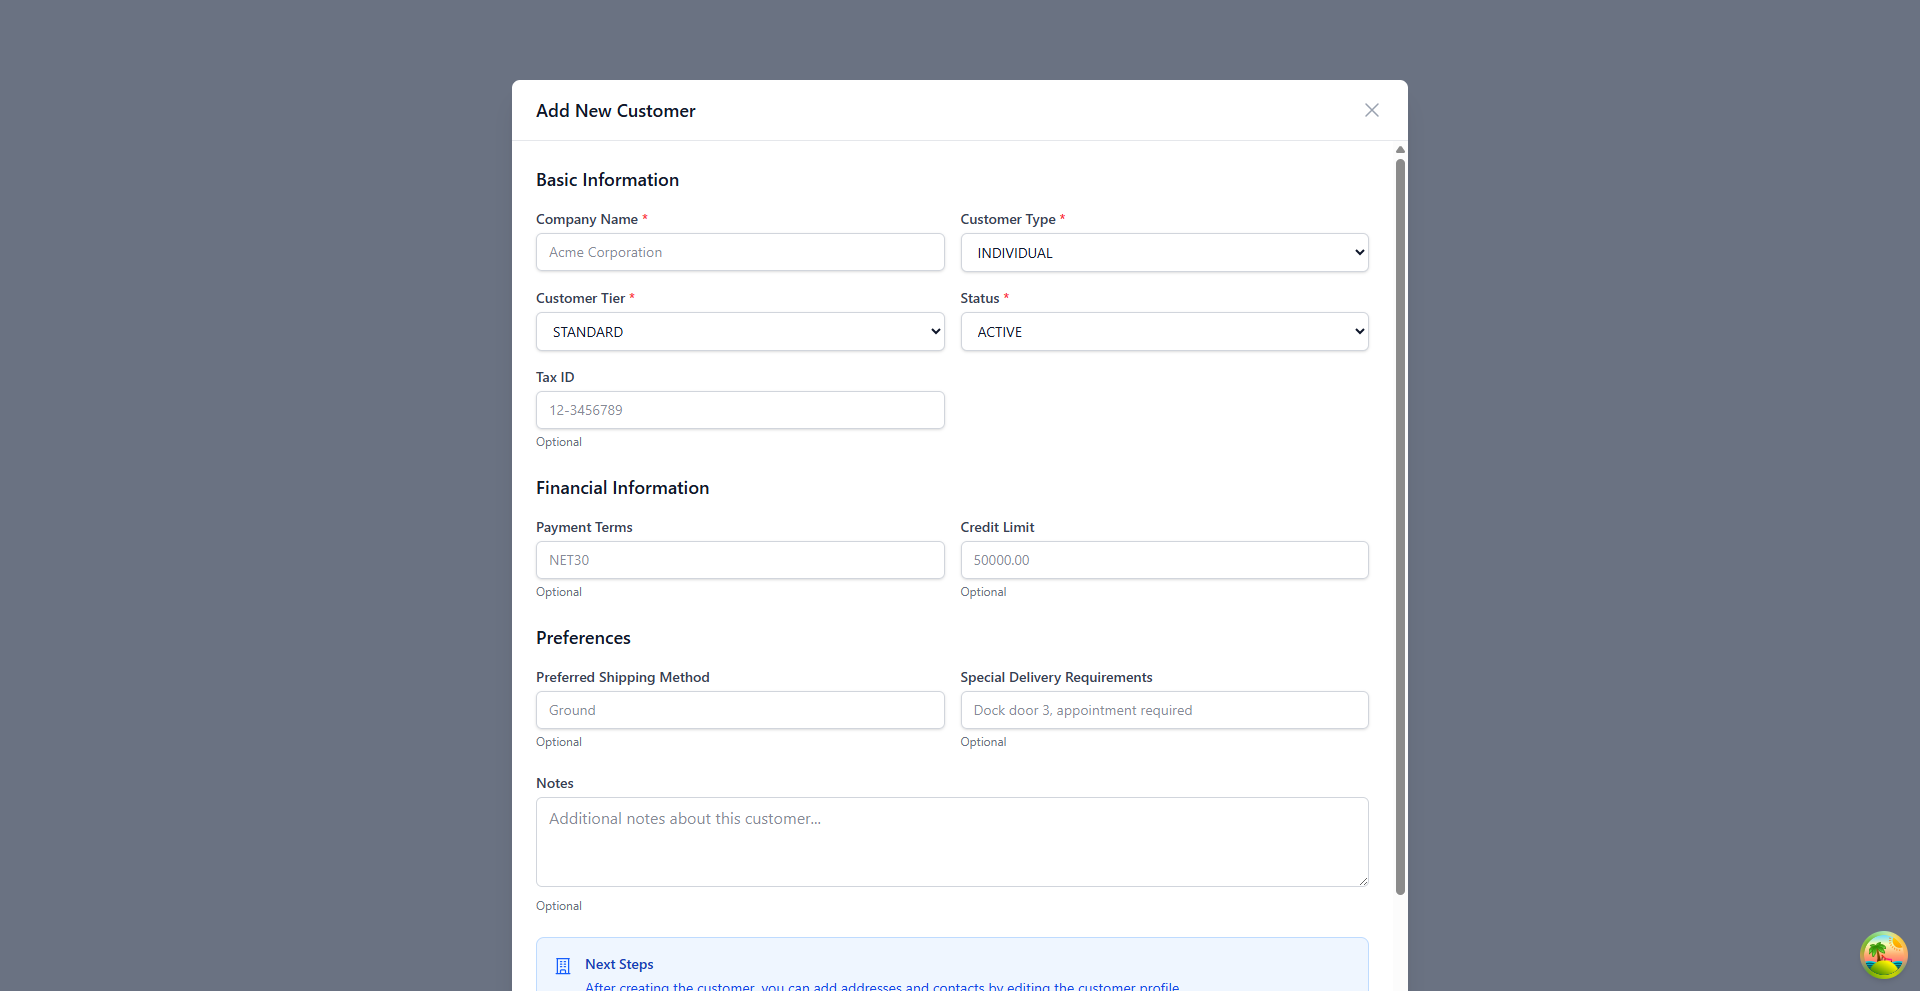
- Choose Add Customer.
- Enter the company name, and pick the type, tier, and status. Those four are the only required fields — everything else can wait.
- Add the Tax ID and Sales Rep if you have them.
- Set the credit limit, payment terms, and preferred shipping method.
- Add any notes or standing delivery requirements.
- Choose Create Customer.
Addresses and contacts are added afterwards, by editing the customer. A new customer has neither until you add them.
Search before you create
Duplicate customer records are the most common mess on this page, and they split a customer's order history in two. Search the name — and a shortened version of it — before adding anything.
Editing a customer
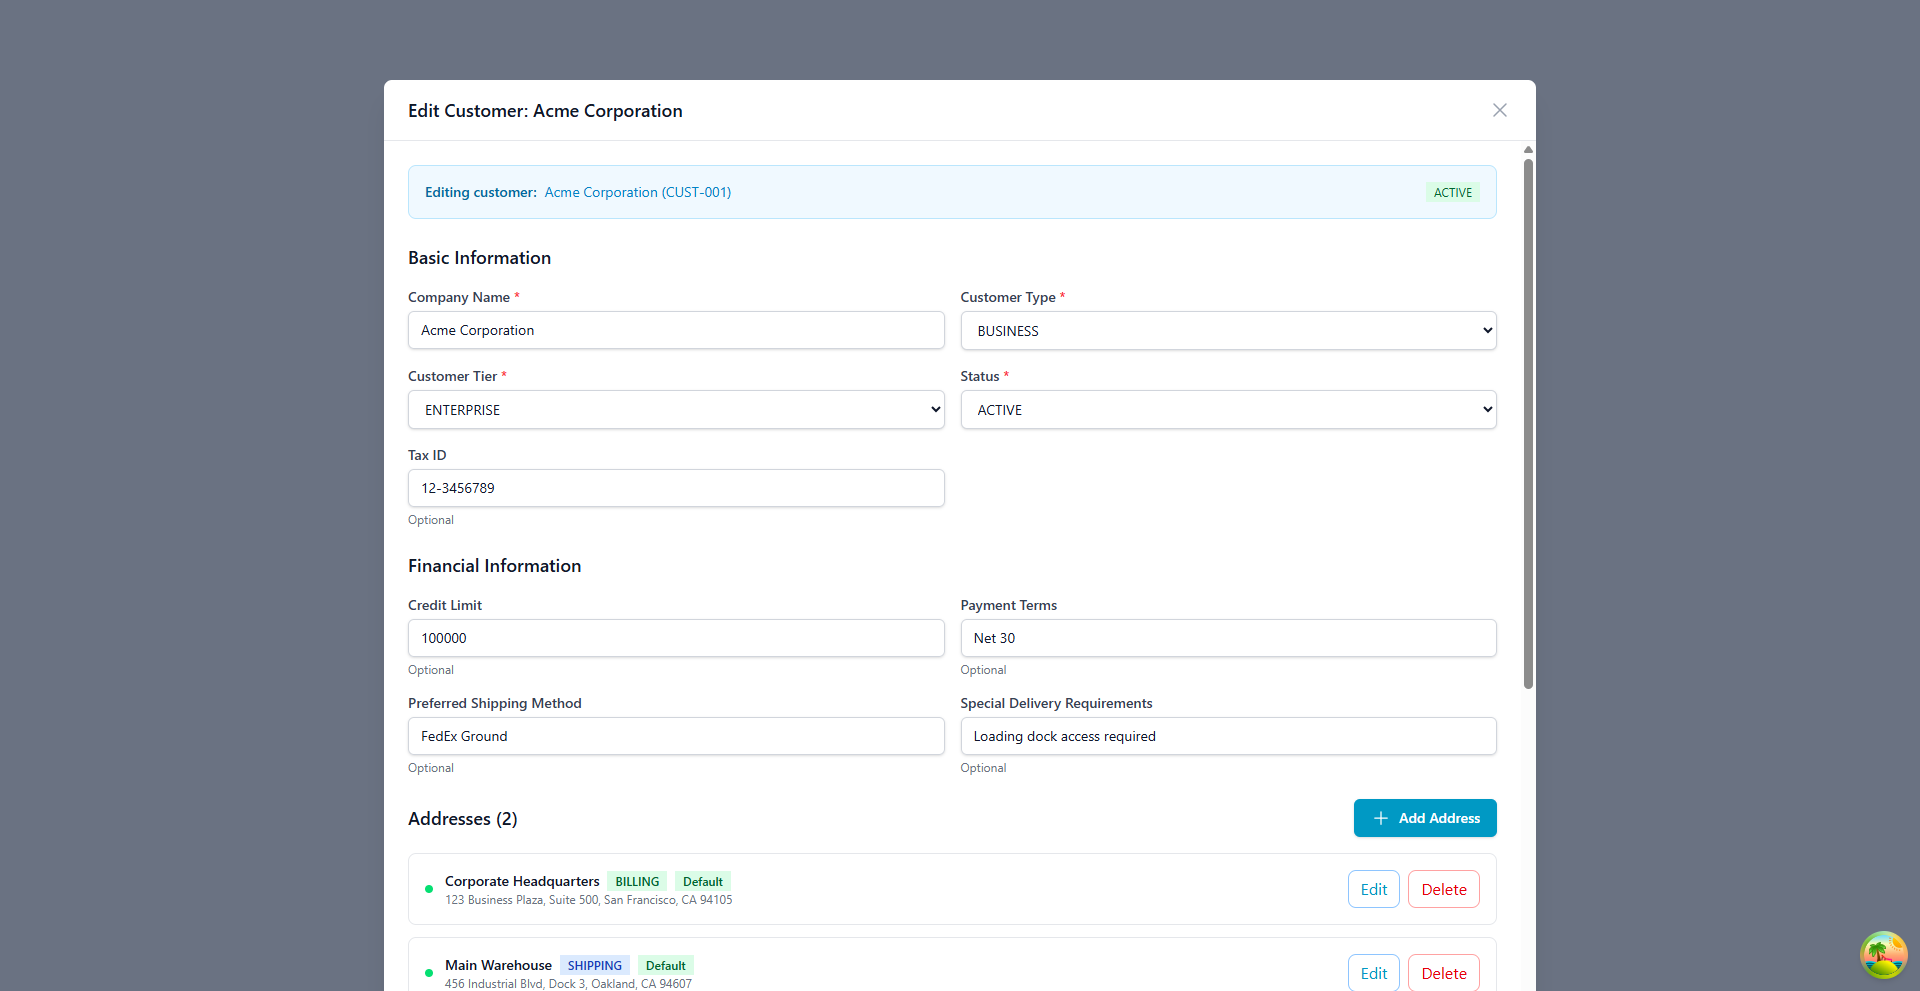
Choose Edit on the row, change what you need, and choose Update Customer.
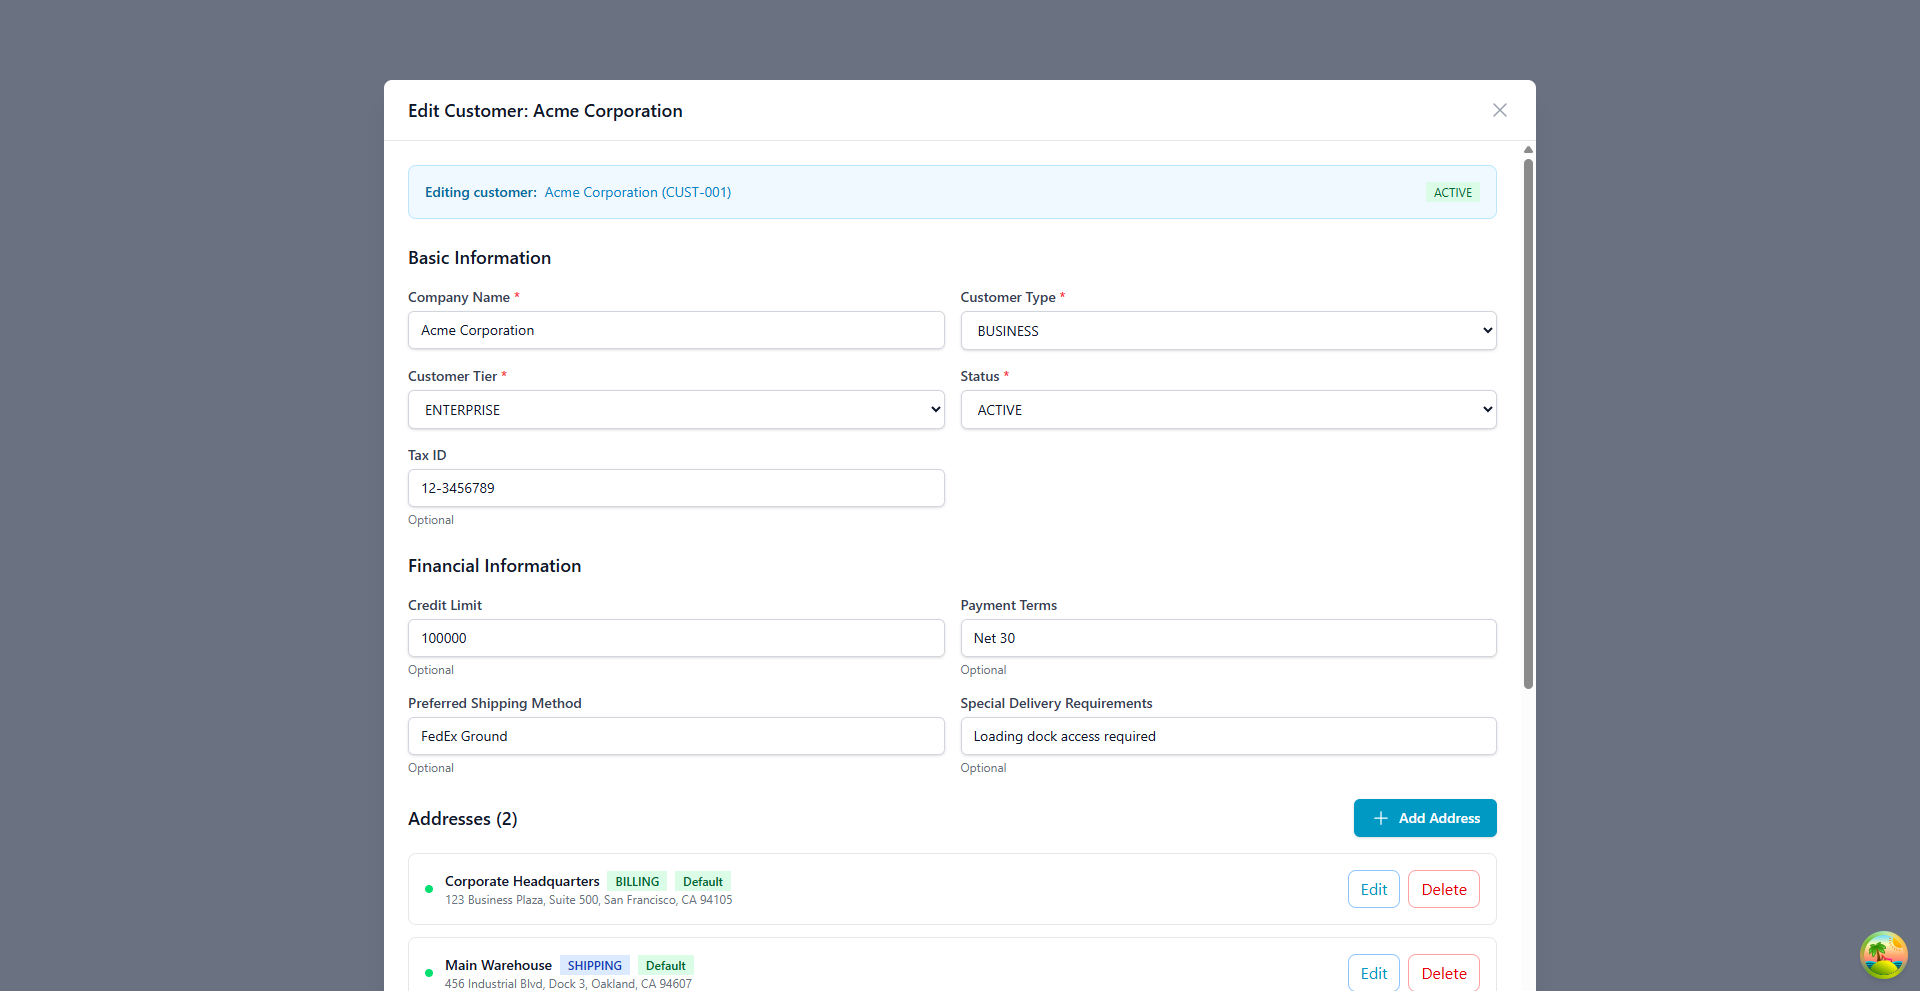
The dialog covers who they are, their financial settings, their addresses, and their contacts. Ticking Also a Supplier reveals a further panel for Lead Time Days, Minimum Order Value, and Supplier Rating.
Give billing contacts an email address
The contact typed Billing is the address Zora puts in the To field when you email an invoice to this customer. Without one, the draft opens unaddressed and whoever sends it has to type the address in.
Addresses
To add one, choose Add Address, give it a label, fill in the address, pick its type, and mark it default if it should be the one used automatically.
Use labels someone can act on — "Dock 3 Warehouse" tells a driver something; "Location 1" doesn't. Keep at least one billing address and one shipping address on every account, and put standing delivery instructions in the address notes rather than in someone's memory.
You can't delete a customer's only address.
Contacts
Choose Add Contact, then enter the name, type, email, phone, and job title.
Keep at least one Primary contact on every account, and change a contact's type when their job changes rather than creating a second record for the same person.
The customer workspace
Clicking a customer row opens their own page at Catalog → Customers → (customer). The header carries the company name, customer number, and status and tier badges, with an Edit button that opens the same quick-edit dialog.
There are three tabs.
Overview
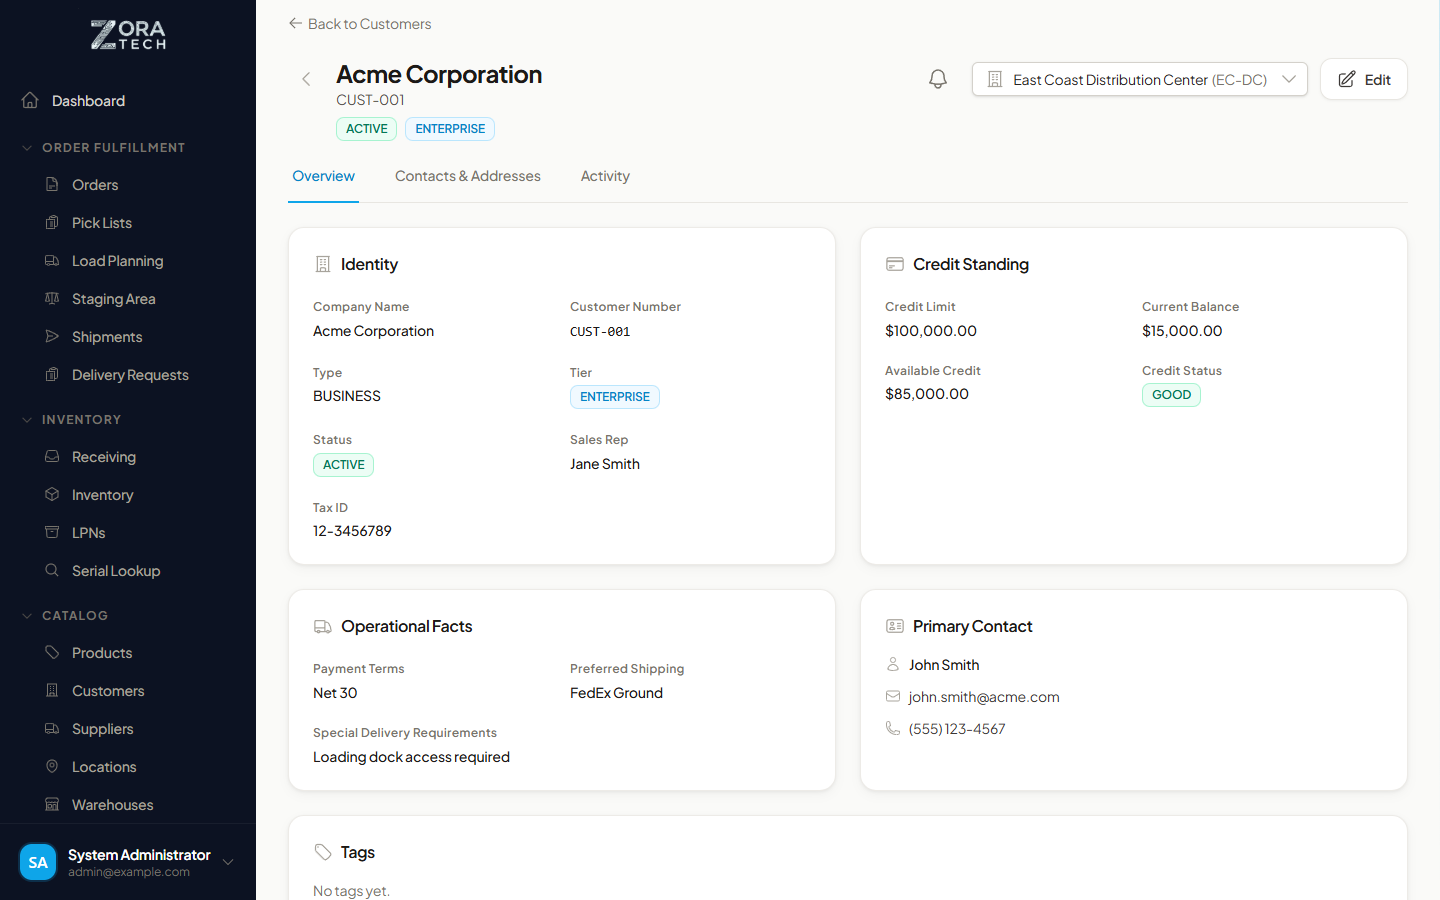
A read-only summary in four panels, plus tags:
| Panel | Contents |
|---|---|
| Identity | Company name, customer number, type, tier, status, sales rep, tax ID |
| Credit Standing | Credit limit, current balance, available credit, credit status |
| Operational Facts | Payment terms, preferred shipping, special delivery requirements |
| Primary Contact | Name, email, and phone of the primary contact |
Tags are short shared labels you can stick on a customer — VIP, Cold Chain, and so on. Tag names match regardless of capitalization, so typing an existing tag reuses it instead of making a near-duplicate, and autocomplete suggests ones already in use. Tags show as chips on the customer list and drive the Tags filter.
Contacts and addresses
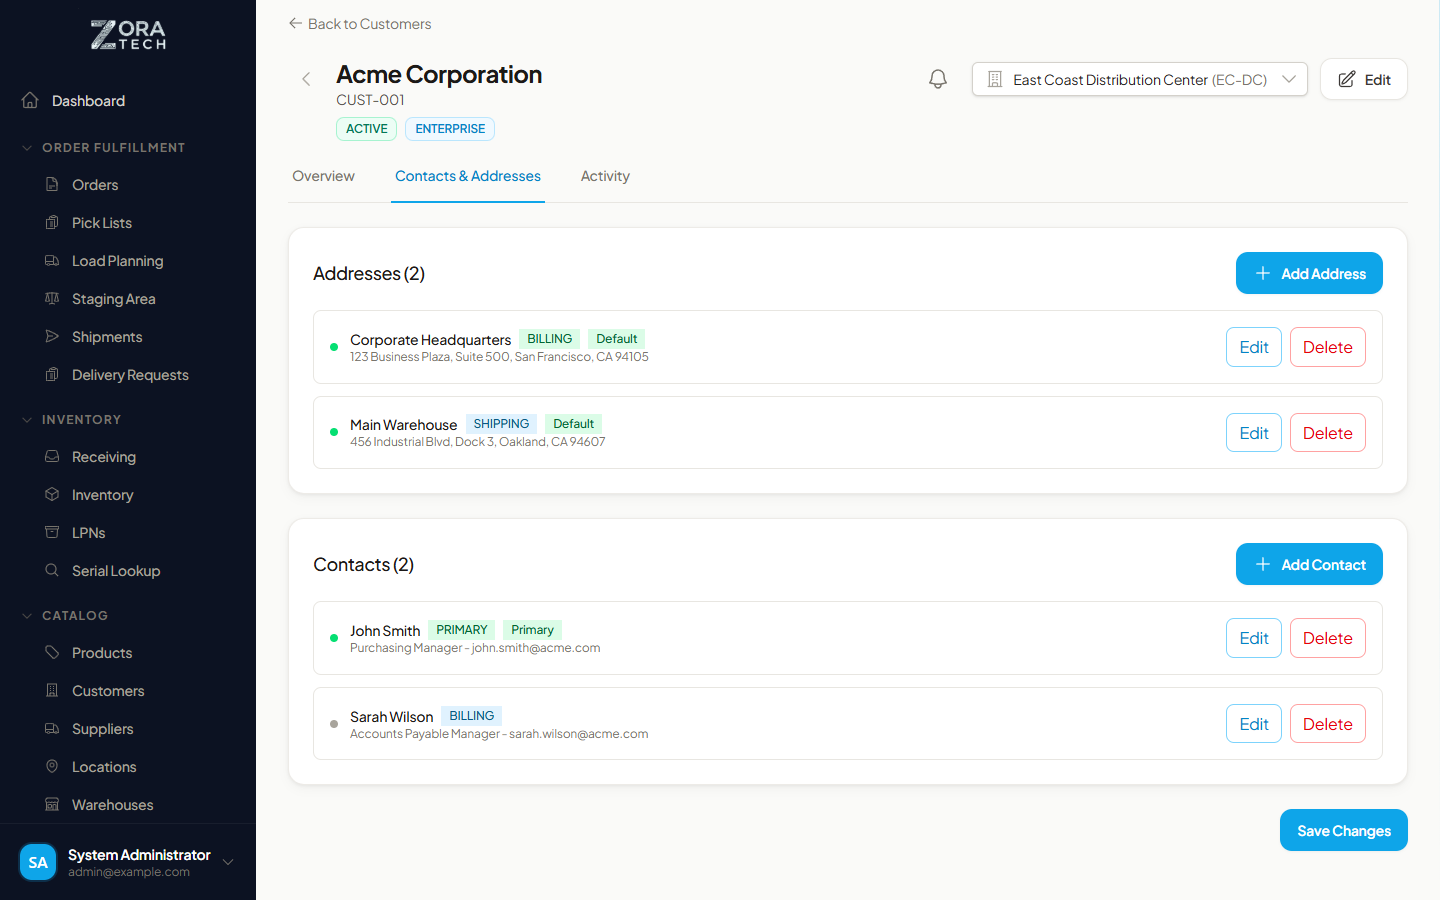
Every address and contact on the account, with a count in each section heading and Add Address and Add Contact buttons. Each row carries its type badge (BILLING, SHIPPING, PRIMARY) and a Default marker where it applies, plus Edit and Delete. Save with Save Changes at the foot of the tab.
This is the fuller view of the same addresses and contacts you can reach from the quick-edit dialog.
Activity
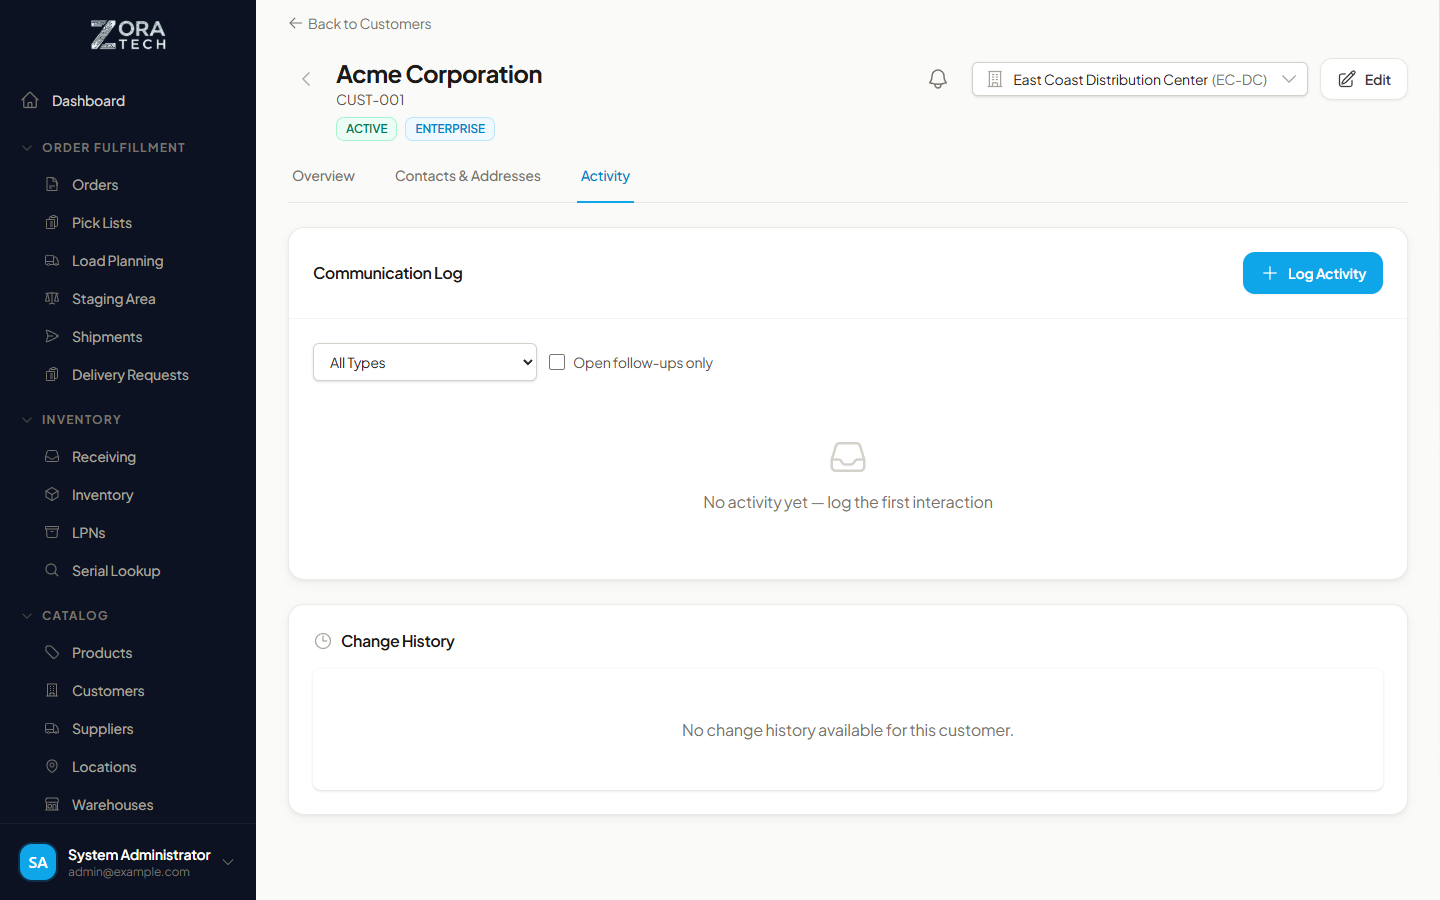
Two independent panels.
Communication log — a running record of your dealings with the customer. Choose Log Activity to add one:
| Type | Use it for |
|---|---|
| Call | A phone conversation, either direction |
| Correspondence worth keeping on the account | |
| Meeting | Site visits, reviews, negotiations |
| Note | Anything else worth recording |
Each entry takes a subject (required), and optionally a longer body, an outcome, the date it happened (you can backdate), and a participant contact from that customer's contacts. An entry can carry a follow-up date, tracked as open or done — overdue follow-ups are worked out from that date, and the number still open shows on the customer.
Narrow the log with the activity type filter and the Open follow-ups only checkbox.
Change history — the audit trail of field-level changes to the record. See Activity history.
Who can see what
Tags and the communication log sit behind two permissions, given to admin and manager only:
| Permission | Grants |
|---|---|
customers:crm_view | Seeing customer activities and tags |
customers:crm_manage | Creating and managing them |
Roles without CRM access
Users without customers:crm_view — worker and viewer by default — don't see the Tags filter on the list and can't read the communication log. The rest of the customer record still follows the ordinary customers:view and customers:update permissions. See Roles and permissions.
Statuses
| Status | What it means | What it stops |
|---|---|---|
| Active | Trading normally | Nothing |
| Inactive | Dormant for now | No new orders |
| Credit Hold | A payment problem | No new orders until it's resolved |
| Suspended | Account frozen | Everything |
These four are the only statuses a customer can hold.
“Pending Approval” in the status filter
The status filter still offers Pending Approval, left over from an approval workflow that was never built. No customer can be saved with it, so filtering on it always returns nothing. Ignore it.
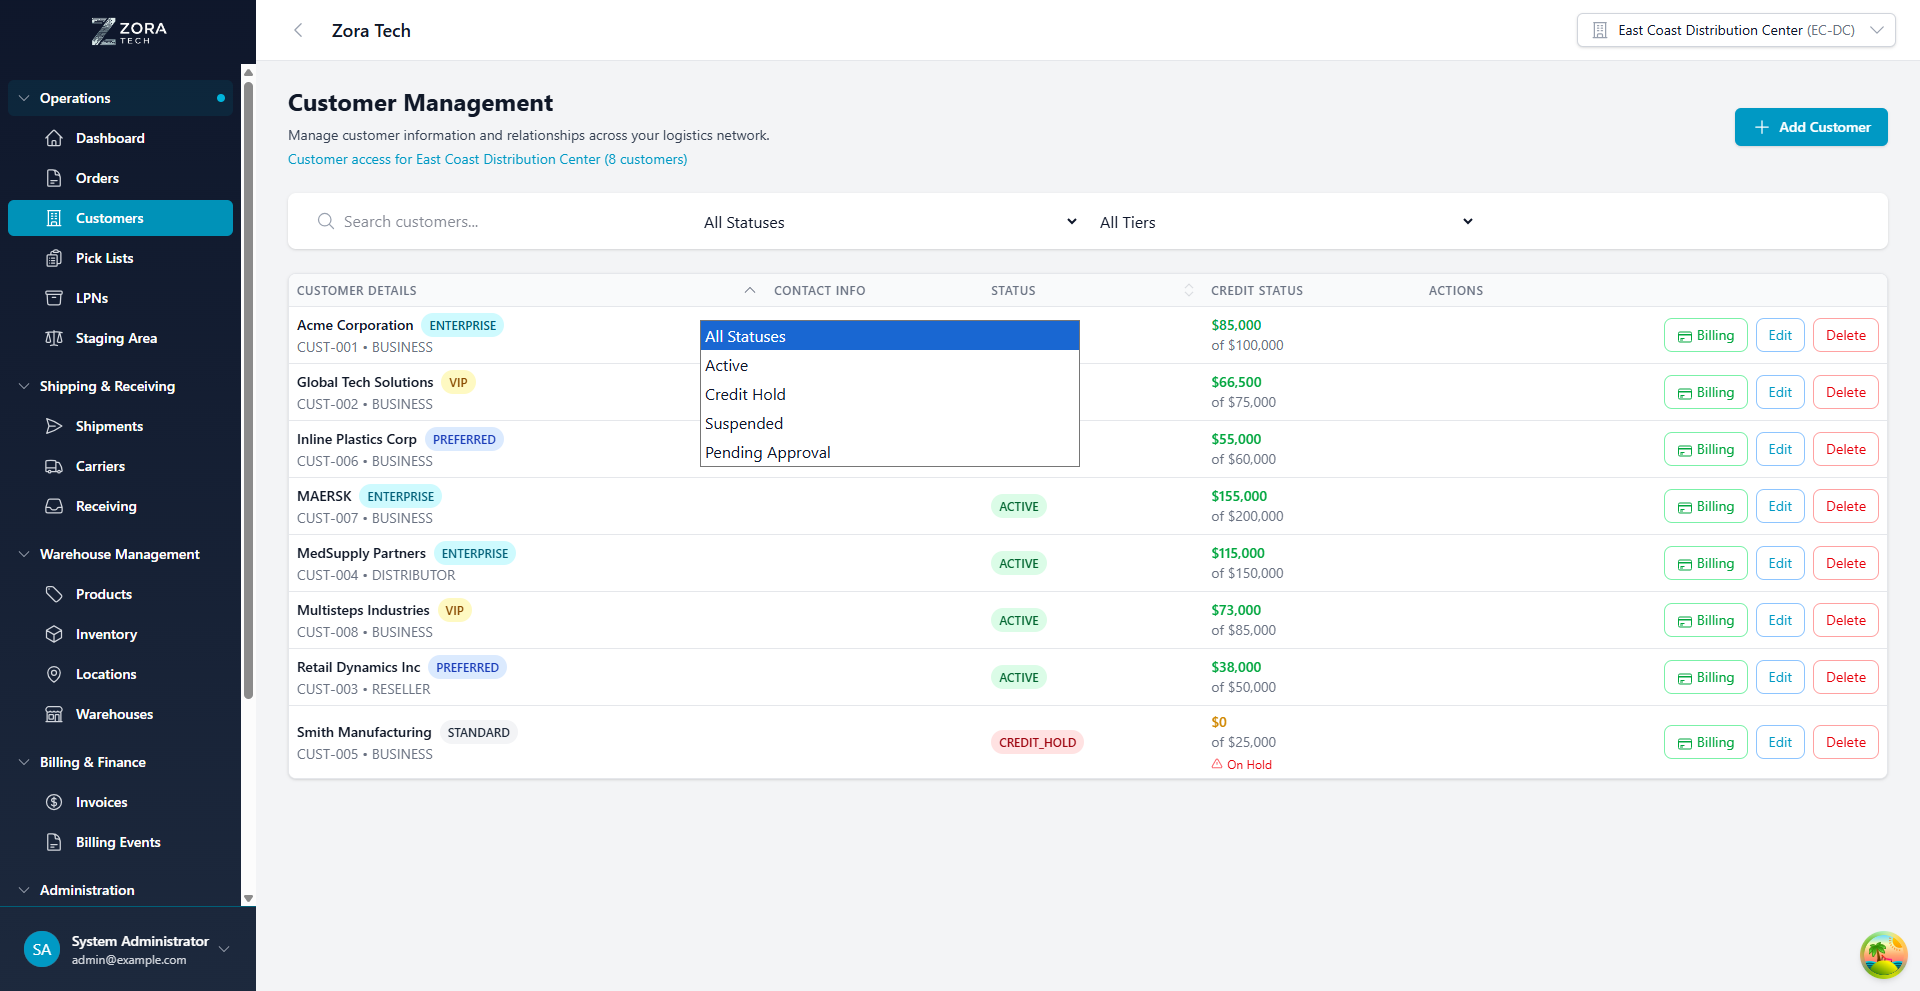
To change it, edit the customer, pick the new status, and save. The restriction applies as soon as you save.
On credit hold, orders already in flight carry on, but nobody can raise a new one, and a warning badge appears beside the credit status.
Tiers
Tiers let you treat your best accounts differently and report on them as a group.
| Tier | Usually |
|---|---|
| Standard | Regular customers on standard pricing |
| Preferred | Frequent customers — priority support, volume discounts |
| VIP | Key accounts — dedicated support, best pricing |
| Enterprise | Large corporations on bespoke arrangements |
Assign tiers on something consistent — volume, length of relationship, strategic value — and apply the same rule to everyone. A tier that means something different on each account is just a colored badge.
Credit and payment terms
Set a credit limit to cap how much a customer can owe you. The platform warns as they approach it and blocks new orders once they're over, with a colored indicator against the balance: green is fine, amber is close, red is over.
Payment terms set when an invoice falls due, and apply automatically to that customer's invoices. You can override them on an individual order.
| Term | Means |
|---|---|
NET30 | Due 30 days from the invoice |
NET60 | Due 60 days from the invoice |
| Due on Receipt | Due immediately |
COD | Cash on delivery |
| Prepay | Paid before anything ships |
Customer actions
| Action | What it does | Who can |
|---|---|---|
| Billing Settings | Rate cards and billing preferences | Billing, Admin |
| Billing | Billing history and invoices | Billing, Admin |
| Edit | Change the record | Manager, Admin |
| Delete | Remove the customer | Admin only |
Billing settings
Configure rate cards for receiving, outbound, and storage with tiered pricing; set the storage billing frequency (monthly, weekly, or split monthly); choose the storage dimension (per pallet, per case, per square foot, or per container); and set the billing cycle, payment terms, and tax rate.
Billing history
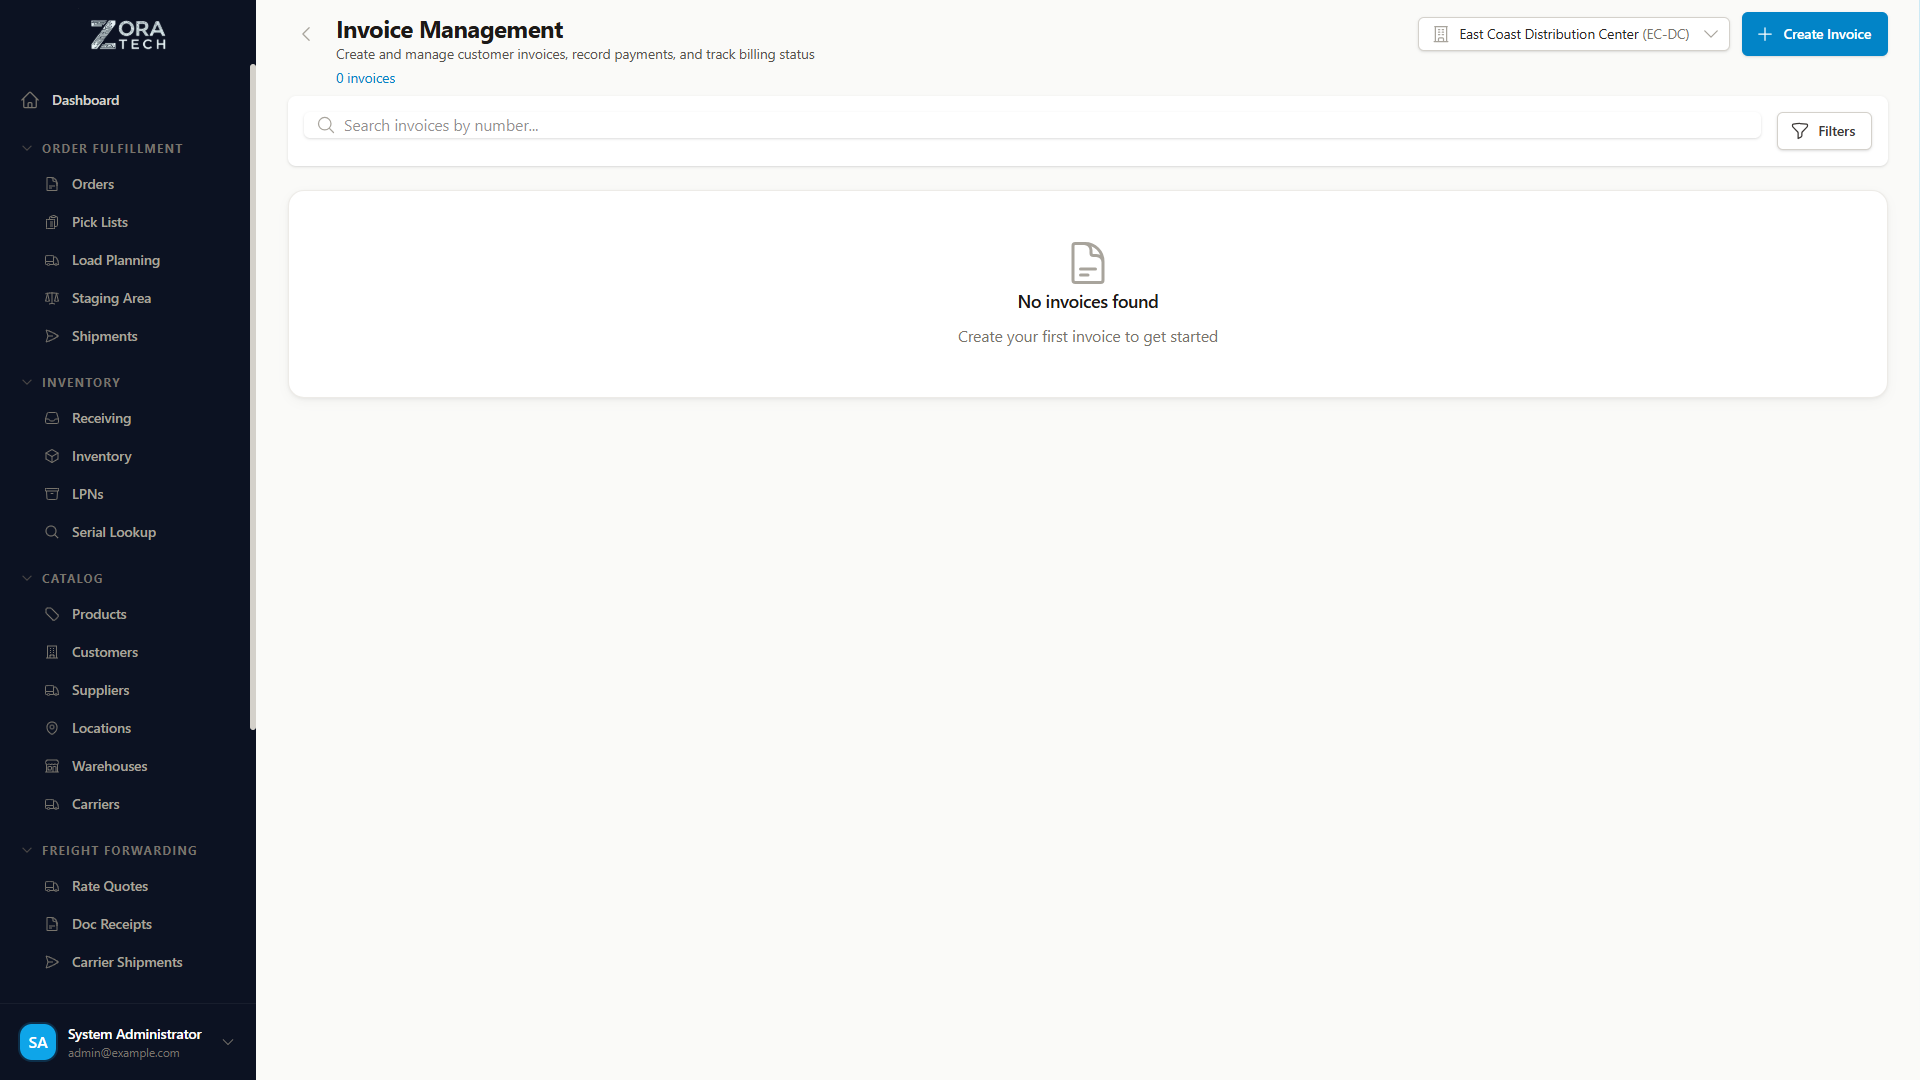
The complete billing history for the account: every invoice, what's been paid, and the reports built from it.
Deleting a customer
You usually want Inactive, not Delete
Setting a customer Inactive stops new orders while keeping their history readable. Deleting is for records created by mistake.
You can't delete a customer with active orders or an outstanding balance. Clear those first, then choose Delete and confirm. The record is marked deleted rather than erased, so historical orders and invoices still make sense.
Importing customers from billing providers
Pull customer records straight out of your billing system instead of retyping them.
What's supported
QuickBooks Desktop — imports company details and billing addresses.
Connect the provider first
A billing provider has to be connected in Settings before the import button appears. Ask your administrator if you can't see it.
Running an import
-
Go to Catalog → Customers and choose Import from Billing Provider.
The platform fetches what's available, up to 100 customers at a time, and lists the company names and addresses.
-
Check the duplicate flags:
Status Meaning Available Nothing matching — safe to import Duplicate A customer with the same company name or billing ID already exists Duplicates are flagged but not blocked. Skip them, or open the existing record first and decide.
-
Tick the customers you want and choose Import Selected.
Each one is created with its company name and contact details, a billing address where the provider supplied one, a generated customer number in
CUST-XXXformat, and a link back to the billing provider record. -
Review the summary:
Result Meaning Imported Created Skipped You excluded it Duplicate Skipped because it already exists Error Failed — the message says why
An import keeps going even when individual records fail. Anything that imported is usable straight away, and the failures are logged with their reasons.
To see past imports with their timestamps, counts, and outcomes, choose Import History.
Keeping customer data clean
Finish the record. A customer with no addresses and no contacts will stall the first order someone tries to raise against it.
Search before creating. Duplicates split a customer's history and are painful to merge later.
Use Inactive instead of Delete for anyone with history worth keeping.
Keep contact details current. Out-of-date contacts are the usual reason a delivery goes wrong or an invoice never gets paid.
Set credit limits on evidence — what the customer actually buys and how reliably they pay — and review the balances against them regularly.
Write down why something changed in the notes field. Six months later, nobody remembers why an account went on credit hold.
Troubleshooting
| Problem | What to check |
|---|---|
| Can't create an order for a customer | Their status is Active, they're under their credit limit, and the record isn't deleted. |
| Two records for the same customer | Search for near-matches, consolidate onto one, and mark the other Inactive rather than deleting it if it has history. |
| Can't delete a customer | They have active orders or an outstanding balance. Clear both, or use Inactive instead. |
| An address doesn't appear on an order | The address exists, is typed Shipping or Both, and is set as the default. |
| Credit hold isn't blocking orders | The status saved. Refresh the page and try raising a test order. |
| A billing contact isn't getting invoices | The email address is right, and the contact is typed Billing. |
Related guides
- Order processing - Raising orders against a customer
- Billing and invoicing - Rate cards, invoices, and storage charges
- Roles and permissions - Who can see the CRM features
- Audit log - What changed on a customer, and when
- Reports - Customer activity reporting
Need more help? Email support@zoratech.io, or check the FAQ and troubleshooting guide.