Staging areas
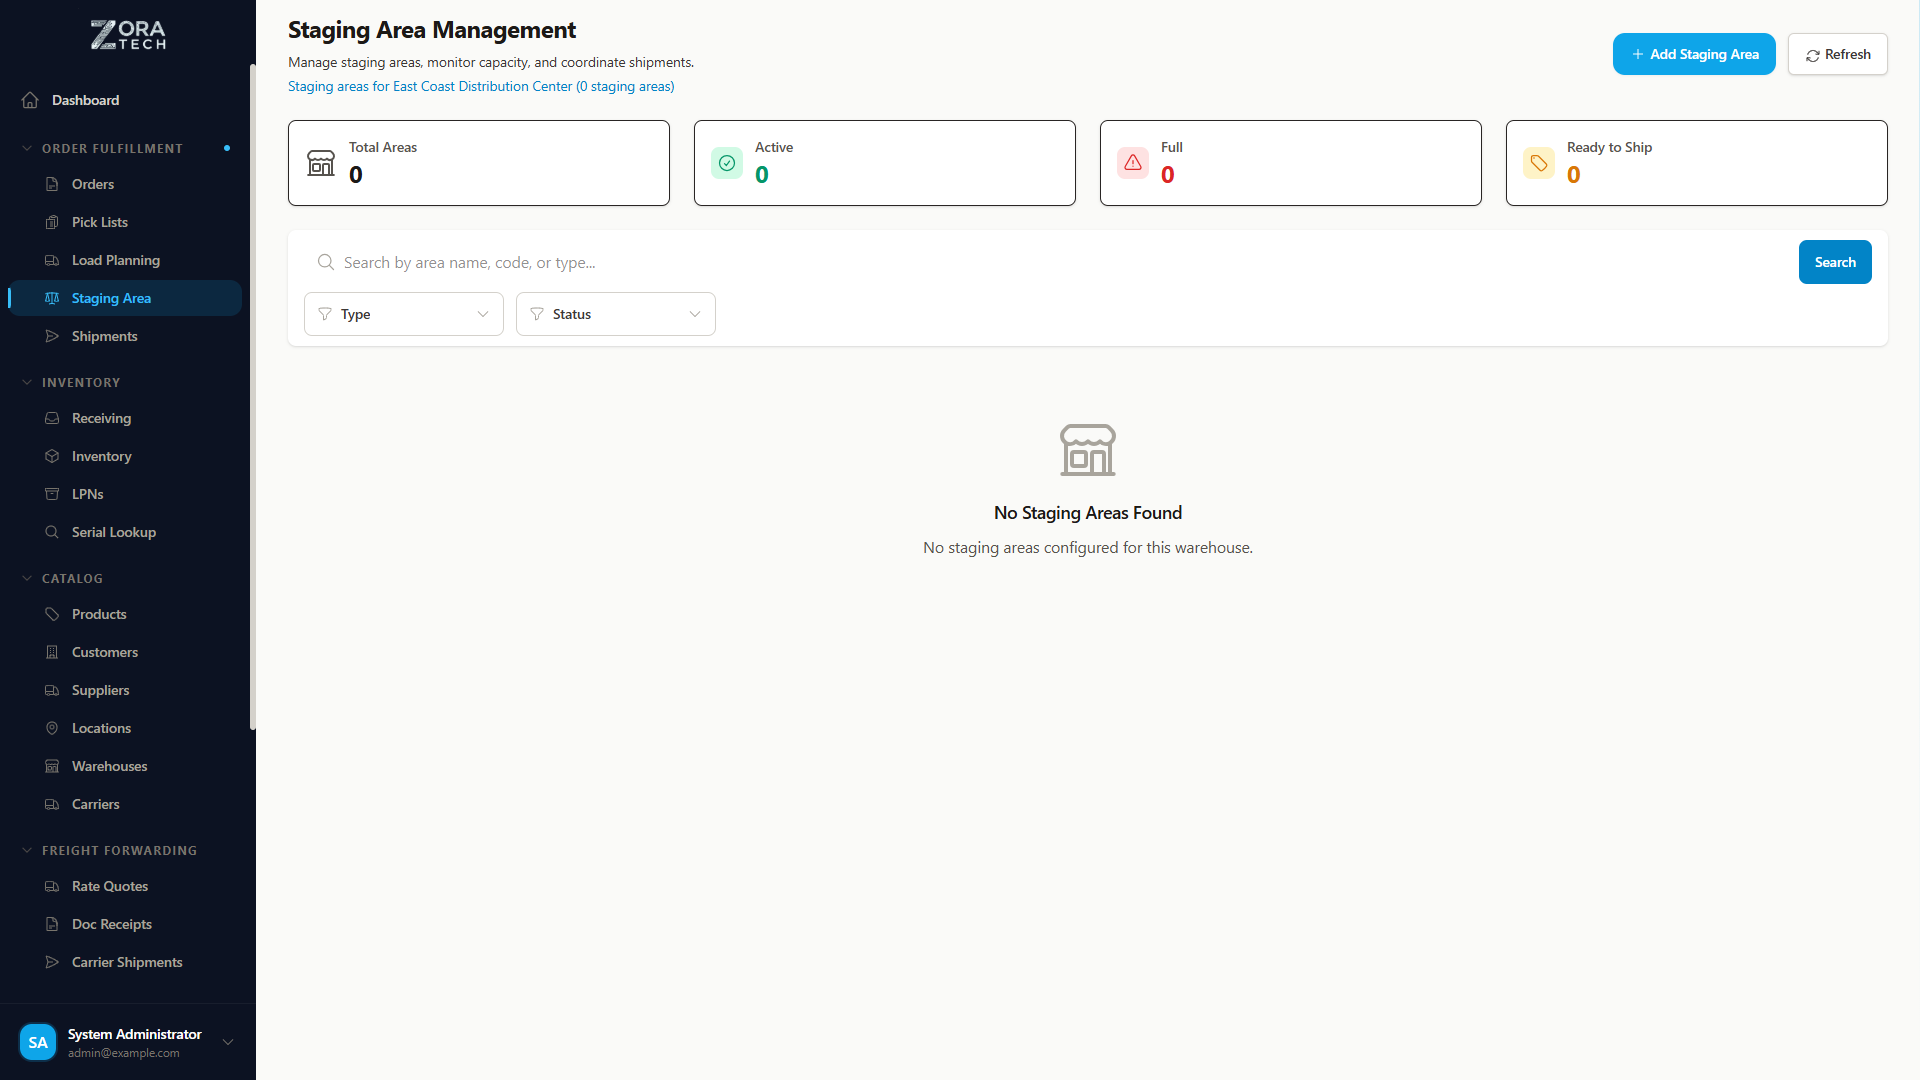
Set up staging areas — the zones where LPNs (License Plate Numbers) and orders wait between processing steps — so picking, packing, consolidation, and shipping hand off cleanly instead of piling up on the warehouse floor.
Before you begin
Select an active warehouse from the warehouse selector, and have your physical zone codes and layout on hand. You need a role with staging area management access.
Key terms
| Term | Meaning |
|---|---|
| Staging Area | A zone where LPNs or orders temporarily sit during processing |
| Area Type | What the area is for — Pack Station, Dock Door, and so on |
| Capacity | The maximum number of LPNs and orders the area can hold |
| Status | The area's current state — Active, Inactive, Maintenance, or Full |
| Utilization | The percentage of capacity currently in use |
| Cutoff Time | A recorded deadline for same-day shipping. It is information for your team, not something the platform enforces. |
How a staging area is used
- An LPN moves to the staging area after picking or receiving.
- It waits there for the next processing step.
- A worker retrieves it from staging for packing, consolidation, or shipping.
- It leaves the staging area, freeing up capacity for the next one.
Staging areas keep different operations in separate zones with clear handoff points, so work in progress doesn't overload a single station or block the aisles. They also let you group orders by carrier and service level to meet pickup cutoffs, and give quality control, exceptions, and returns their own dedicated space instead of mixing with active picking and packing.
Staging area types
| Type | Purpose | Typical LPNs | Typical orders |
|---|---|---|---|
| Pack Station | Dedicated packing workstation for order fulfillment | 5–10 | 10–15 |
| Consolidation Zone | Combining multiple orders or LPNs | 20–50 | 50–100 |
| Dock Door | Shipping staging assigned to a specific carrier | 15–30 | 30–60 |
| Exception Area | Holding zone for orders needing special attention | 10–20 | 20–40 |
| Quality Control | Inspection and verification staging | 5–15 | 10–30 |
| Returns Processing | Customer return handling | 10–25 | 20–50 |
Pack station
Equipped with packing materials, a label printer, and a scale for weight verification, and worked by one person at a time. Use it for individual order packing, multi-item order assembly, label generation, and a final check before shipping.
Typical equipment: thermal label printer, digital scale, barcode scanner, packing tape dispenser, box sizing station.
Consolidation zone
A larger holding area for grouping picks into shipments. Use it to combine multiple pick LPNs into shipping LPNs, group orders by destination, build full truckload shipments, and consolidate customer orders.
Dock door
Assigned to a specific carrier, and records a service level, pickup time, and cutoff time. Use it for carrier-specific shipment staging, scheduled pickups, time-sensitive shipping, and outbound load building.
Configuration: assigned carrier (FedEx, UPS, and so on), service level (Express, Priority, Ground, Economy, Same Day, or Next Day), pickup time (for example 17:00), and cutoff time (for example 16:30).
Exception area
A holding zone for orders that need investigation before they can move on — damaged items, missing products, address validation issues, customer holds, quality concerns. It has a longer dwell time and supervisor oversight, and is used for investigation, customer communication, replacement processing, and starting returns.
Quality control
For inspection and verification: random quality checks, high-value item verification, customer-requested inspection, and compliance checks. The process covers product inspection, packaging verification, labeling accuracy, and documentation review.
Returns processing
Dedicated to customer returns: receiving, condition assessment, and routing stock to restock or disposal, plus refund and exchange processing. The workflow covers return authorization verification, condition inspection, inventory disposition, and customer resolution.
The staging areas page
- Select Operations in the left sidebar.
- Select Staging Areas.
- Confirm a warehouse is selected in the header.
The page shows summary cards (Total, Active, Near Capacity, Full), a New Staging Area button, search and filters by code, type, and status, and a table of every staging area with its current utilization.
Creating a staging area
Select New Staging Area (top right) to open the form.
1. Basic details
Enter a Staging Area Code — a unique identifier used for scanning and system reference. Use alphanumeric characters and hyphens, for example PACK-01, DOCK-A, CONSOL-01, or QC-01.
Enter a Staging Area Name that says what the area is for, for example "Pack Station 1" or "FedEx Ground Dock".
Choose the Area Type — see Staging area types for what each one is for.
2. Capacity
Set Max LPNs and Max Orders — the point at which the area stops accepting new items. Use the typical ranges in the table above as a starting point, then adjust to your actual throughput.
Add a Zone Code if you have one — the physical warehouse zone identifier (for example A1, B2, ZONE-PACK). It links the area to your floor plan and helps with navigation and labor assignment.
3. Dock door settings
These fields apply only to the Dock Door area type:
| Field | Notes |
|---|---|
| Carrier | The carrier assigned to this dock, for example FedEx or UPS |
| Service Level | Express, Priority, Ground, Economy, Same Day, or Next Day |
| Pickup Time | Expected carrier pickup, 24-hour HH:MM, for example 17:00 |
| Cutoff Time | Deadline for same-day shipping, 24-hour HH:MM, for example 16:30. Recorded for your team to work to — the platform does not block staging after it |
4. Equipment and notes
Both optional. List the Equipment available at the area (for example "Scale, label printer, tape dispenser," or "Forklift access, pallet jack") so workers know what to expect. Use Notes for operational procedures, special handling requirements, shift assignments, or maintenance schedules.
5. Create it
Review your configuration and select Create Staging Area.
The staging area appears in the list with Active status, ready for LPN assignment.
Staging area status
| Status | Means | Effect |
|---|---|---|
| Active | Operational — the default for new areas | Accepts LPNs, capacity tracking is on |
| Inactive | Temporarily not in use | Can't accept new LPNs or orders; existing items remain until cleared. Use it for schedule changes or temporary closures |
| Maintenance | Under maintenance or repair | Can't accept new items; needs clearing before it can go back to Active |
| Full | Marked as full by hand | A label you set yourself, the same way you'd set Inactive. The platform does not set it for you — see the note below. |
Status transitions
ACTIVE → FULL (you set it)
FULL → ACTIVE (you set it back)
ACTIVE → MAINTENANCE (manual intervention required)
MAINTENANCE → ACTIVE (after service complete)
ACTIVE → INACTIVE (end of shift, schedule change)
INACTIVE → ACTIVE (shift start, schedule activation)
Capacity and utilization
| Metric | How it's calculated |
|---|---|
| LPN utilization | (Current LPNs ÷ Max LPNs) × 100% |
| Order utilization | (Current Orders ÷ Max Orders) × 100% |
| Available LPN slots | Max LPNs − Current LPNs |
| Available order slots | Max Orders − Current Orders |
Utilization and available slots show in real time on the dashboard, to support assignment decisions and capacity planning.
| Utilization | Indicator | What it means |
|---|---|---|
| 70–89% | Yellow "near capacity" warning | Start routing new work elsewhere, or clear the area down |
| 90–99% | Red warning | The area is nearly out of room. Moving an LPN in still works, but warns you |
| 100% | Blocked | The platform refuses to move another LPN in until something leaves |
What the platform does and doesn't do about capacity
It blocks a move into an area that is already at 100%, and warns you above 90%. It does not change the area's status to Full on its own, and it does not notify a supervisor. Full is a label you set by hand.
Getting it right
Size capacity to match real throughput. Consider peak periods and seasonality, monitor historical utilization, and adjust the limits based on actual performance rather than the typical ranges alone.
Place areas near the workflow they serve. Minimize travel distance for workers, group similar area types together, and make sure there's enough physical space.
Match the type to the function, and don't repurpose an area for something else. Keep the workflow and signage consistent with the type.
For dock doors, use one dock per carrier-service combination, set realistic cutoff times, coordinate with the carrier's schedule, and build in buffer time before pickup — 30–60 minutes is typical, to account for label generation and manifesting.
Check utilization throughout the shift. Address near-capacity situations as they come up, and clear completed items promptly. Set a maximum dwell time, alert on extended holds, and escalate stuck LPNs quickly.
Update status as conditions change. Set an area to Maintenance during equipment service, mark it Inactive outside operating hours, and document status changes.
Track throughput to find bottlenecks. Measure items per hour per staging area, and balance the workload across areas rather than overloading one.
Aim for 60–80% average utilization. Too low wastes space; too high causes constant congestion and delays.
Troubleshooting
| Problem | What to check |
|---|---|
| Area reaches capacity frequently | Increase Max LPNs/Orders, add another staging area of the same type, expedite processing to clear items faster, review the workflow for bottlenecks, and check whether items are stuck in the area |
| System isn't routing LPNs to staging | Confirm the staging area status is Active and it isn't Full, check the area type suits the workflow, review the carrier/service level configuration, and confirm the warehouse assignment matches |
| Orders missed the carrier cutoff | Move the cutoff time earlier to add buffer, check the pickup time is accurate, monitor the staging queue proactively, alert workers as the cutoff approaches, and consider starting order processing earlier |
| Staging area equipment is missing or broken | Set the status to Maintenance, document the issue in Notes, route work to an alternate staging area, schedule the repair, and update the Equipment field once it's resolved |
Error messages
| Error | Cause | Resolution |
|---|---|---|
| "Staging area code already exists" | Duplicate code | Use a unique code |
| "Warehouse required" | No warehouse selected | Select a warehouse from the header |
| "Invalid capacity values" | Negative or zero capacity | Enter positive values |
| "Staging area is full" | At maximum capacity | Process items out, or increase capacity |
| "Cannot delete location with existing inventory" | The area still holds stock | Move everything out first. The check is on stock held, not on LPN count |
Still stuck? Check the capacity metrics and LPN locations for the area, then contact your supervisor for workflow questions or your system administrator for configuration issues — include the staging area code and the exact error message.
Related guides
- LPN Management - License Plate Number operations and staging
- Order Processing - Order fulfillment workflows
- Receiving Operations - Inbound staging processes
- Warehouse Configuration - Warehouse zone setup
Need more help? Email support@zoratech.io, or check the FAQ and troubleshooting guide.