Billing and invoicing
Track billable events, price them with rate cards, and turn them into invoices you can email to a customer.
Before you begin
Billing is a feature-gated module — contact your administrator if you don't see Billing in the sidebar.
Accessing billing
Go to Billing in the left sidebar. It has two pages:
| Page | What it's for |
|---|---|
| Invoices | View, create, and manage invoices |
| Billing Events | Review every billable event across operations |
Billing events
The platform creates a billing event automatically whenever a billable operation happens in the warehouse. Each event captures the operation type, customer, quantities, and the charges that resulted.
Event types
There are six event types.
| Event Type | Trigger | Description |
|---|---|---|
| Receiving Complete | Receiving order completed | Charges for inbound handling |
| Shipment Dispatch | Shipment marked as shipped | Outbound handling and shipping charges |
| Shipment Order Billing | Order-level billing on shipment | Per-order charges on shipments that carry more than one customer's freight |
| Manual Labor | Manual entry | Ad-hoc labor charges |
| Adjustment | Manual adjustment | Billing corrections |
| Storage Charge | Storage charge generation | Periodic storage fees |
Freight forwarding is not a billing event type
Freight forwarding charges do not raise their own billing event. Bill freight through Manual Labor or Adjustment, or invoice it directly by adding a Miscellaneous line to a manually built invoice — see Invoice line types.
What an event records
Every event stores the measurements it was billed on and the money that came out of them, so a charge can always be traced back to the operation that caused it:
| Field | What it holds |
|---|---|
| Customer and Warehouse | Who is billed, and where the work happened |
| Event type and Event date | What happened and when |
| Source reference | The receiving order or shipment the event came from |
| Dimensions | The measured quantities — pallets, LPNs, cases, pieces, lines, SKUs, containers, total weight, square footage |
| Calculated charges | Per dimension: quantity, rate applied, total, and the tier breakdown when a tiered rate card was used |
| Subtotal | The event's total charge |
| Billing period | Start and end dates, for events covering a period rather than a moment |
| PO number and consolidation key | Grouping keys used when invoicing |
| Invoice | The invoice this event was billed on, once invoiced |
| Notes | Free text |
Which dimensions are populated depends on the event. An inbound event measures pallets and receipt lines; an outbound one measures LPNs and pieces; a storage event measures cases and square footage.
From event to invoice line
Events are the audit trail between an operation and a charge:
- An operation completes — a receipt is closed, a shipment dispatches, a storage period is generated.
- The system measures it and writes those quantities into the event's dimensions.
- The customer's rate card prices each dimension, applying tiers where the rate card defines them. The result is stored on the event as its calculated charges, along with the tier breakdown used.
- Invoicing turns each charge into a line. One invoice line is created per charge dimension, not per event — so a single receiving event priced on both pallets and lines produces two lines. Each line carries the quantity, the rate and the total, and stays linked to the event it came from.
- Tax is added as its own line, unless the customer is tax exempt.
Why a charge looks the way it does
Because the tier breakdown is kept on the event, you can open an event and see exactly which rate tiers produced a total — useful when a customer queries an invoice line.
Viewing billing events
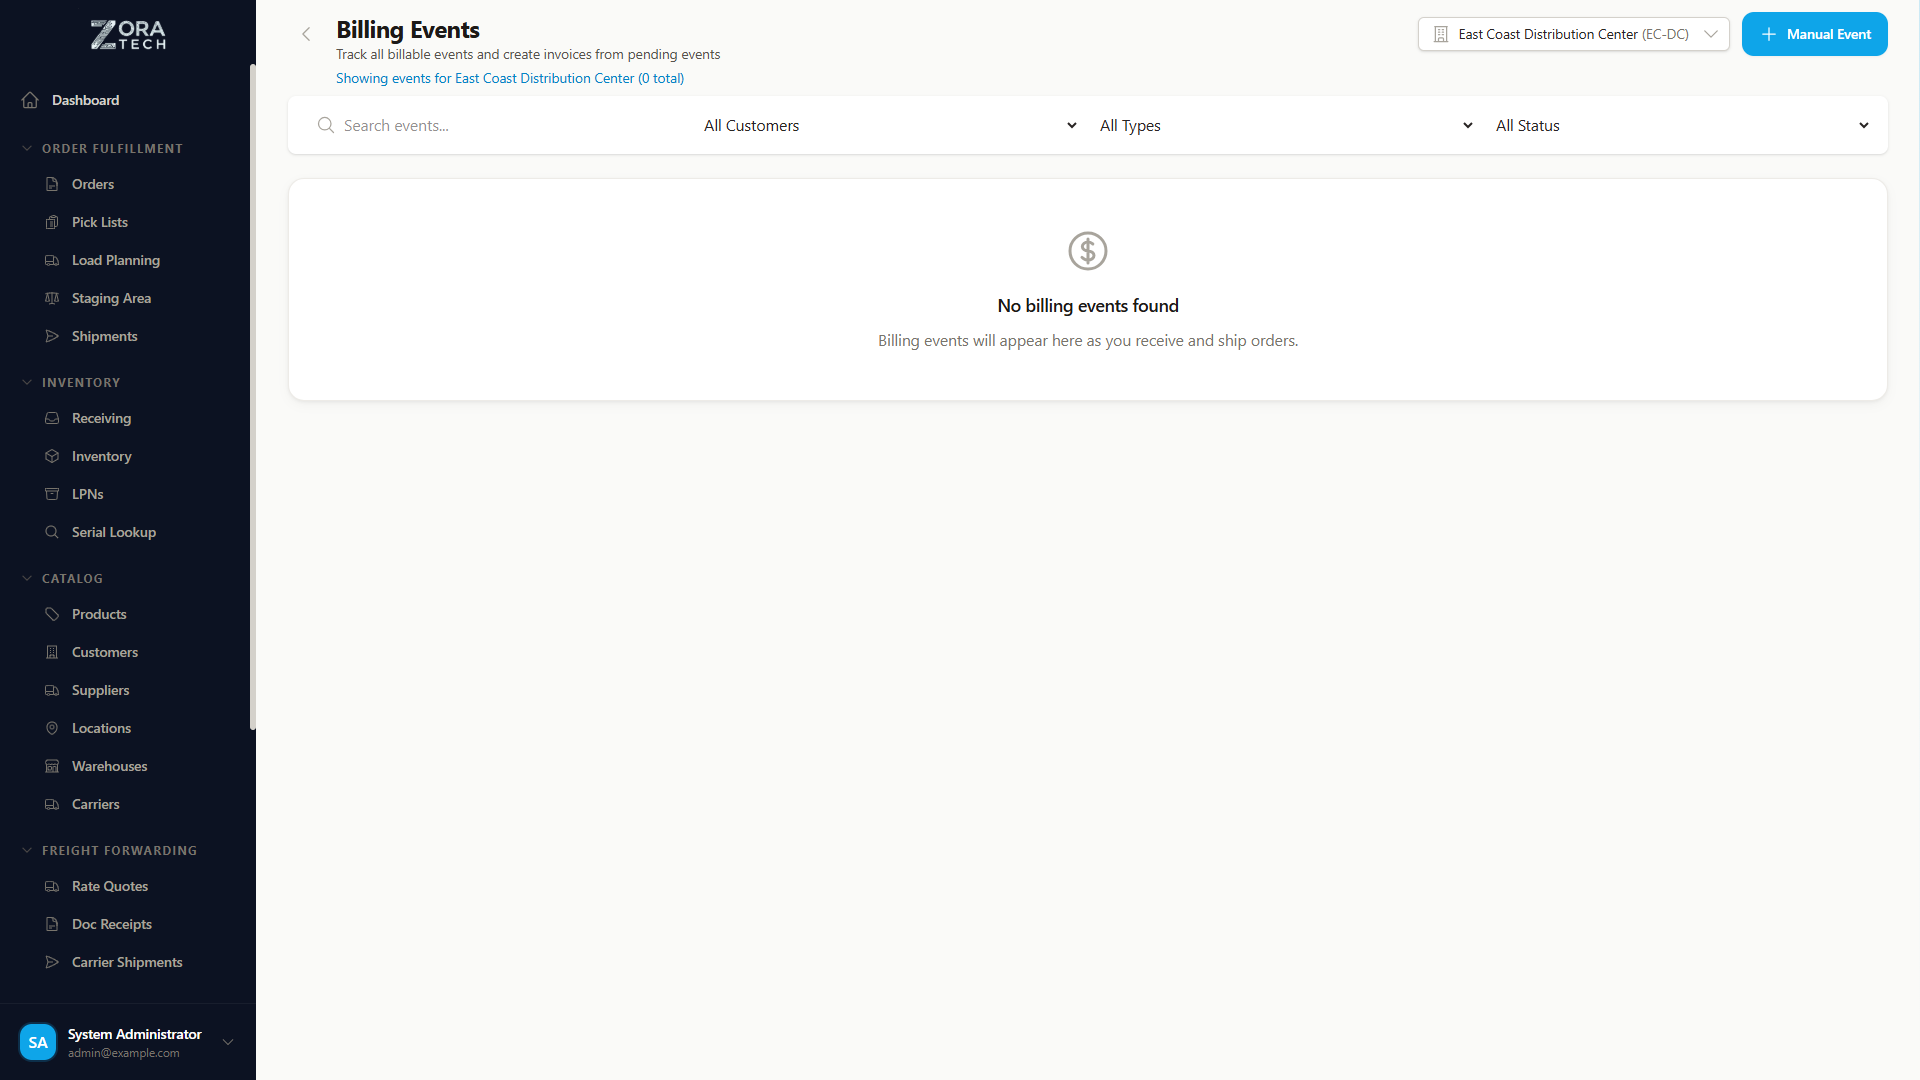
The list opens on pending events
Status starts on Pending, so events already sitting on an invoice are hidden. Change that filter to Invoiced, or clear it, before deciding an event wasn't created.
| Tool | What it does |
|---|---|
| Search | Matches purchase order number, customer, master bill of lading, bill of lading, equipment number, and container number. Type at least 3 characters, then choose Search or press Enter — the list doesn't narrow as you type |
| Customer filter | Narrows to one or more customers |
| Type filter | Narrows to one or more charge categories |
| Status filter | Pending for events not yet invoiced, Invoiced for those already billed |
| Event Date filter | A start and end date. Both ends are included |
| Charge breakdown | Shows the tiered-pricing detail behind a charge |
| Checkboxes | Select several events to invoice together |
The Customer, Type, and Status filters take an operator as well as a value:
| Operator | Effect |
|---|---|
| is | Matches exactly one value |
| is not | Excludes one value |
| is any of | Matches any of several values |
| is none of | Excludes several values |
Status offers is and is not only, because it holds just two values.
Once a filter differs from its starting point, a Clear button appears with a count of how many filters are active. Clearing puts Status back to Pending rather than showing everything. Your filter choices are kept in the page address, so a filtered list is a link you can bookmark or send to someone else.
Creating invoices from events
- Go to Billing → Billing Events.
- The list already shows pending events only. Narrow it further by customer, type, or event date if you need to.
- Tick the events to invoice.
-
Choose Create Invoice.
An invoice is generated from the selected events.
-
Review the invoice and confirm.
Invoices
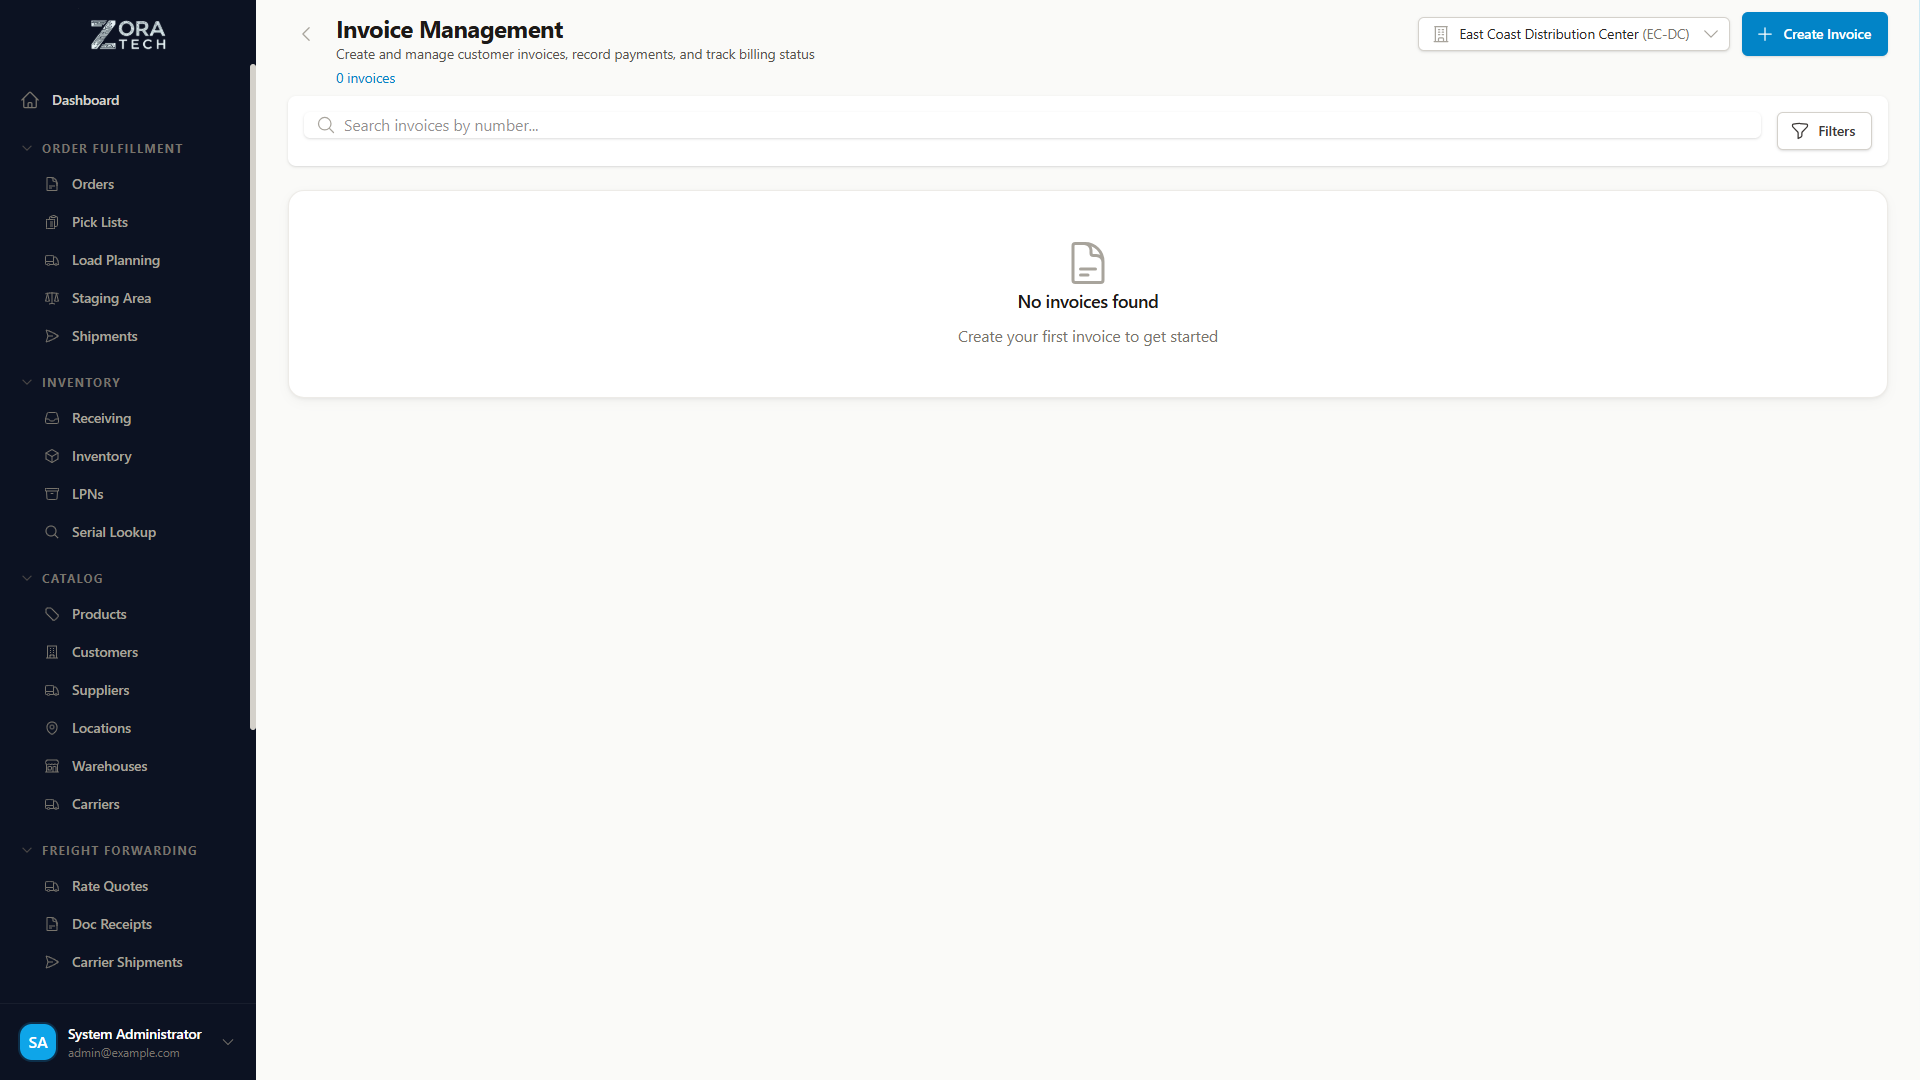
What an invoice holds
| Part | Notes |
|---|---|
| Invoice list | Customer, date, amount, and status |
| Document attachments | Supporting documents — BOLs, receipts, photos |
| Bill To address | A separate billing address, for a third party who pays on the customer's behalf |
| Carries the logo and company details of the invoice's warehouse, falling back to your company defaults — see Company branding | |
| Currency | Formatted with the correct decimals |
Invoice workflow
- Let billing events accumulate as operations happen.
- Select the pending events and create an invoice.
- Review the invoice details, line items, and totals.
- Attach supporting documents if you need to.
- Finalize the invoice.
- Email it to the customer as a draft you send from your own mailbox.
Voiding an invoice
Voiding cancels an invoice you've already raised, without deleting it. The invoice stays in the list with a Void status so the history still makes sense, and the audit trail records who voided it and when.
- Open the invoice.
- Choose Void.
- Give a reason. It's optional, but it's the only explanation anyone will have later.
You can't void a paid invoice
Voiding is blocked on an invoice that's already been paid, and on one that's already void. If a paid invoice is wrong, raise a credit against it rather than trying to void it.
Voiding needs its own permission
billing: void is separate from billing: update and billing: delete — someone who can edit invoices cannot necessarily void one. See Roles and permissions.
Emailing invoices
Zora prepares the message; you send it from your own mailbox.
Email Draft builds a standard email file (.eml) with the invoice PDFs already attached and downloads it to your computer. Opening that file hands the message to whatever mail client you normally use — Outlook, Apple Mail, Thunderbird — with the recipient, subject, body, and attachments filled in. Nothing is sent until you press Send there.
The platform never sends the email itself
Zora has no outbound mail server, and that is deliberate: the message leaves from your own mailbox, so the customer sees your address, the copy lands in your Sent folder, and replies come straight back to you.
Emailing a single invoice
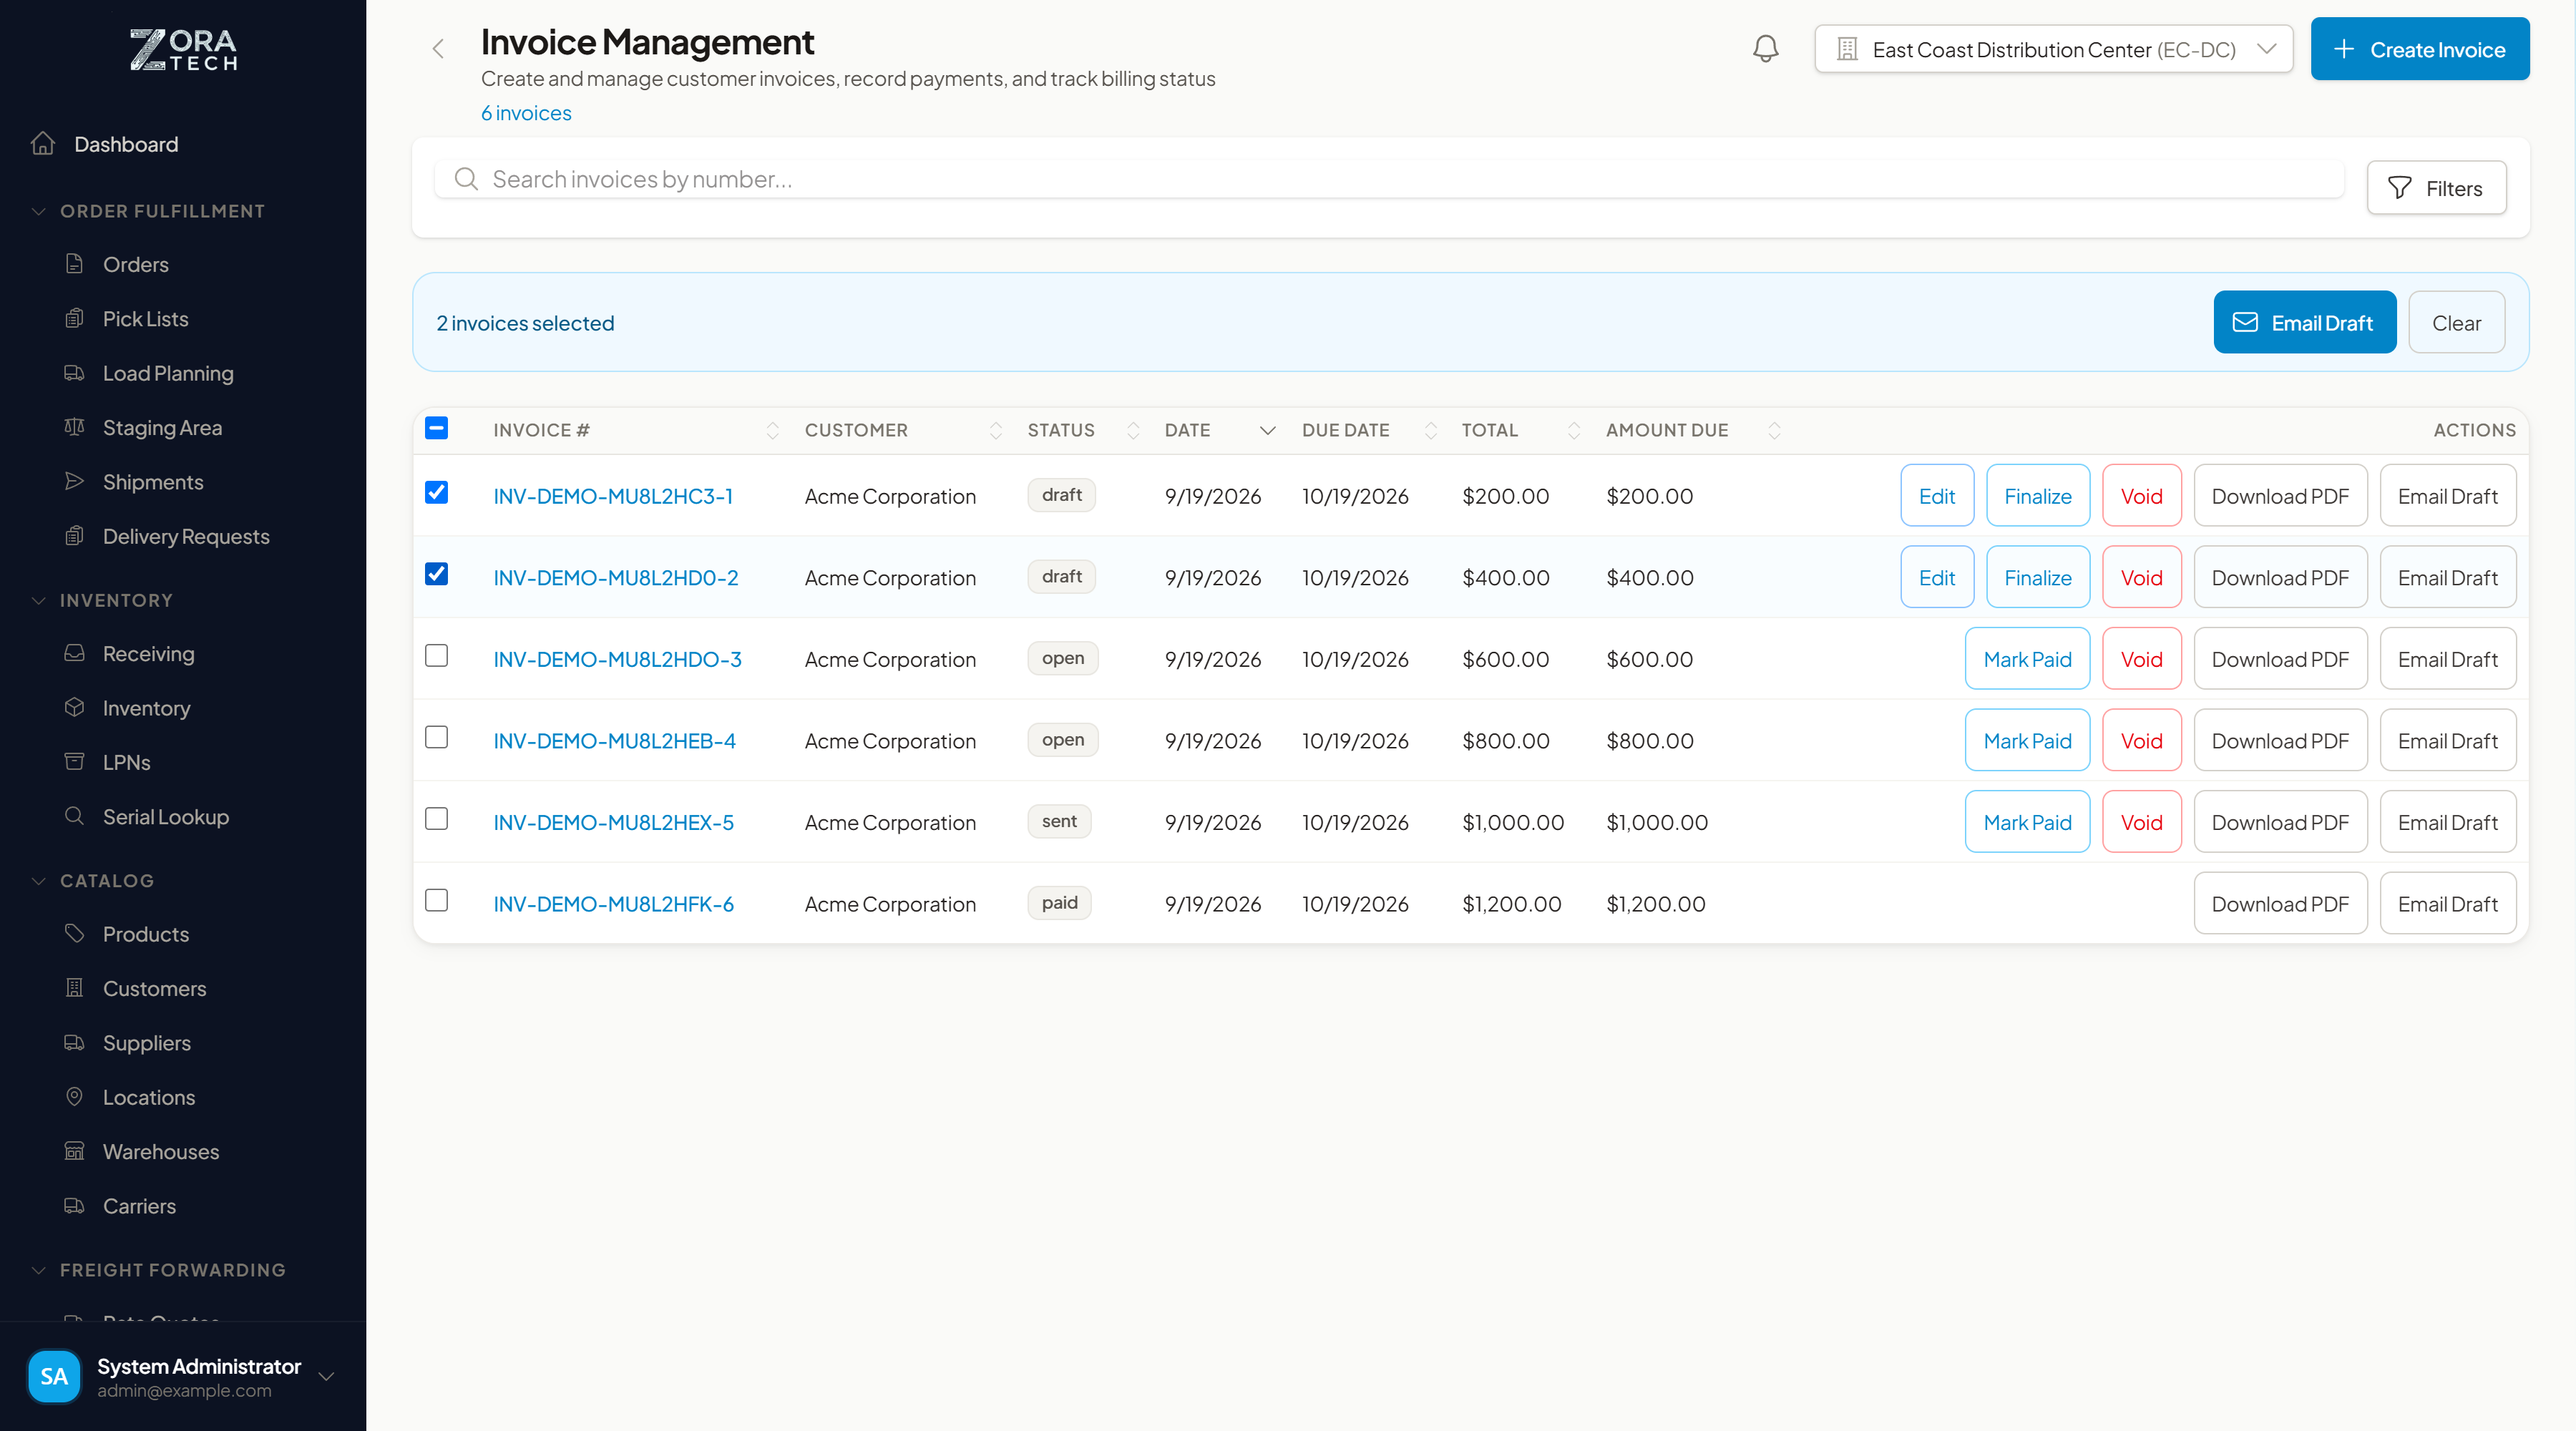
From Billing → Invoices, choose Email Draft on the invoice's row. On a phone or tablet, the same action is on the invoice card.
You can also open the invoice and click Email Draft in the header, next to Download PDF:
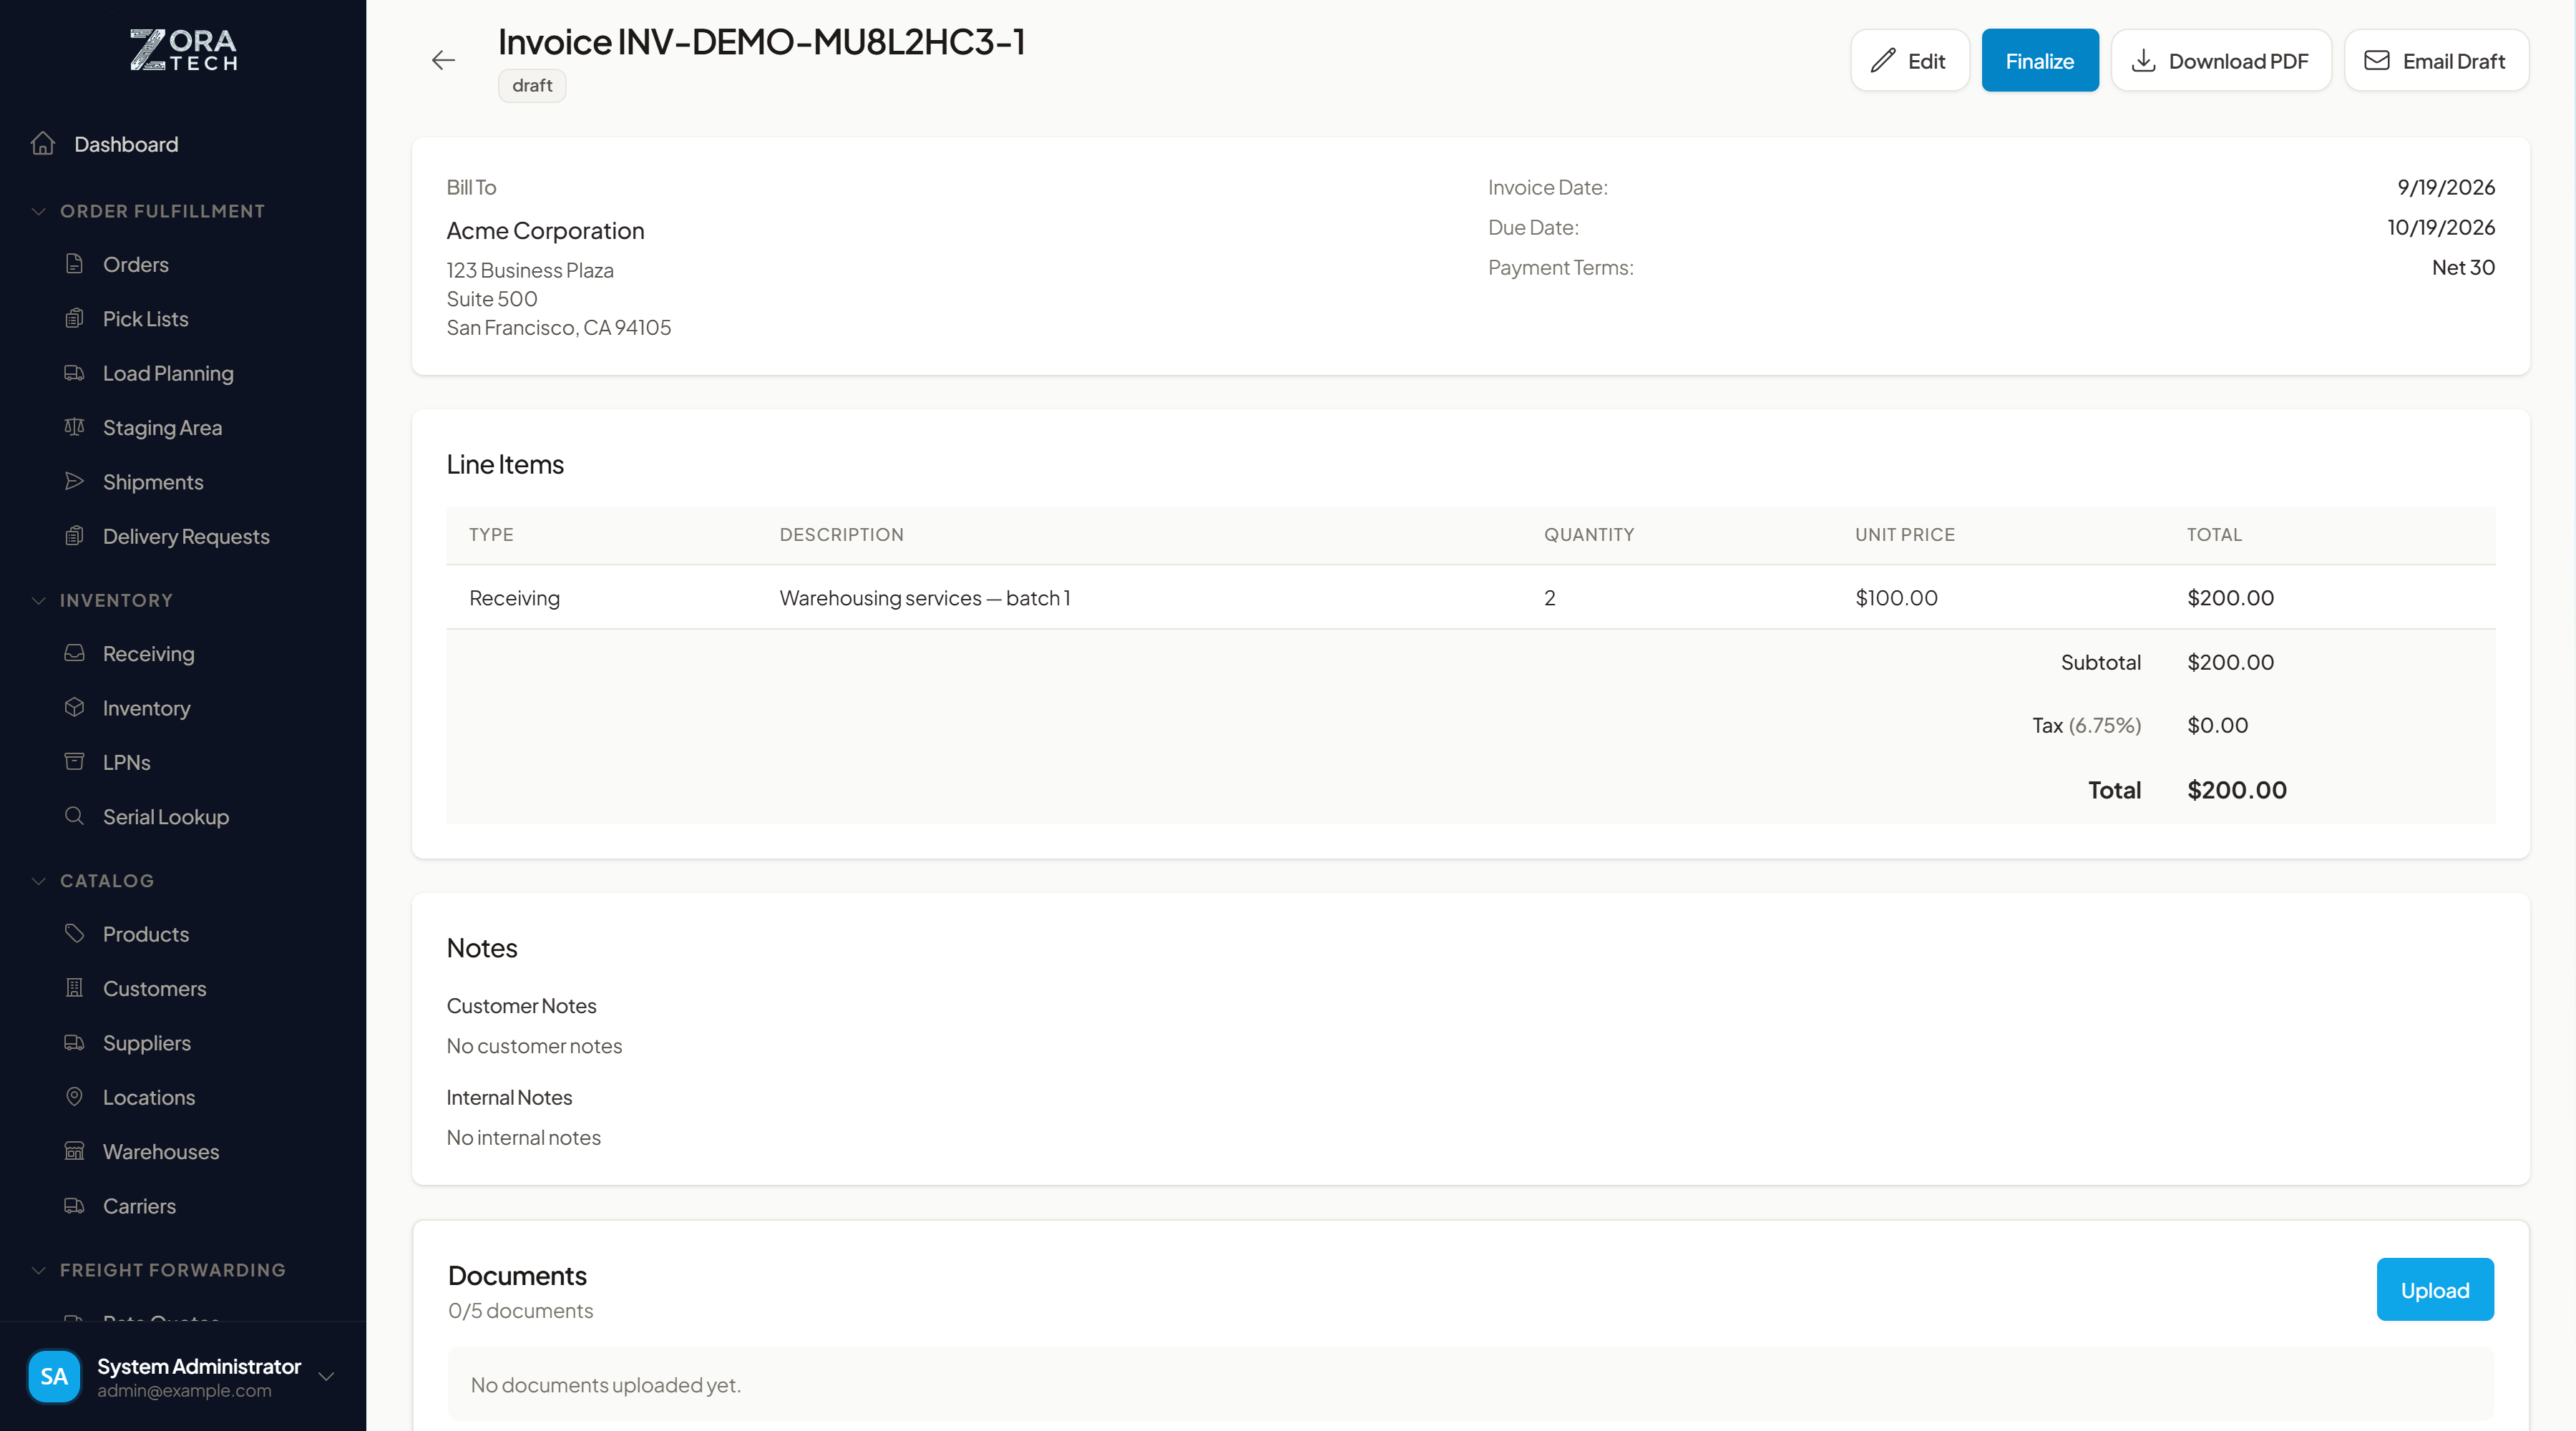
The file downloads as Invoice-<invoice number>.eml. Open it, review the message, and send.
Emailing several invoices at once
- Go to Billing → Invoices.
- Tick the checkbox on each invoice you want to include.
- In the blue bar that appears, choose Email Draft.
You get one message with every selected invoice attached as its own PDF, saved as Invoices-<count>.eml. Use it for a customer's month-end batch rather than sending ten separate emails.
25 invoices per draft
A single draft can carry at most 25 invoices. Ask for more and the platform declines rather than building an oversized message that mail clients struggle to open. Split the batch into smaller drafts.
What the draft contains
| Part of the message | Where it comes from |
|---|---|
| To | The customer's billing contact — see below |
| From | The company email address on the branding for the invoice's warehouse |
| Subject and body | The templates in Settings → Invoice Email |
| Attachments | One PDF per invoice, named Invoice-<invoice number>.pdf |
How the recipient is chosen. The platform looks at the customer's contacts and takes the first address it finds, in this order: the contact typed Billing, then the customer's designated primary contact, then any contact with an email address.
The To field is left empty — for you to fill in — when:
- the draft covers more than one customer, so there is no single right recipient
- the customer has no email address on file
- the contact's email field holds more than one address, which is ambiguous enough that the platform will not guess
Fix an empty to field at the source
If a customer's drafts keep opening unaddressed, add a contact of type Billing with a single email address on the customer record. Every future draft for that customer picks it up.
Branding on a mixed batch. The from-address and the PDFs follow the branding of the invoice's warehouse. When one draft spans invoices from different warehouses, it falls back to your global company branding, so the message and its attachments always speak for the same legal entity.
Emailing does not change the invoice status
Building a draft is a read-only action. A draft invoice stays a draft; an open invoice stays open. Nothing about the invoice changes, and you can build a draft as many times as you like — useful for resending a copy a customer mislaid.
Customizing the wording
The subject and body are yours to edit — see Settings → Invoice Email. Administrators can reword the message and use placeholders for the invoice number, dates, amount, and your company details. Until someone edits them, the built-in wording is used.
Permissions
Email Draft needs the same view access to Billing as the rest of the Invoices page, so anyone who can see an invoice can prepare a draft for it. Editing the wording in Settings is an administrator task.
If the .eml file doesn't open your mail client
.eml is the standard email-message format, but a computer with no desktop mail client (or a browser-only setup like webmail) may not know what to do with it. Set a default mail app on the machine, or open the file from within your mail client's File → Open menu. The attached PDFs can always be downloaded on their own with Download PDF.
You can also build an invoice from scratch. On Billing → Invoices, choose Create Invoice, pick the customer and warehouse, then use Add Line to enter each charge by hand. Hand-entered lines aren't tied to a billing event, so they carry no dimensions or tier breakdown — just a type, description, quantity, unit price, and amount.
Invoice line types
Every invoice line carries a type. Lines created from billing events are typed automatically from the event they came from; lines you add by hand are typed with the Type select next to the line.
| Line Type | Where it comes from | Used for |
|---|---|---|
| Receiving | Receiving Complete events | Inbound handling charges |
| Outbound | Shipment Dispatch and Shipment Order Billing events | Fulfilment and outbound handling charges |
| Labor | Manual Labor events | Ad-hoc labor charges |
| Storage | Storage Charge events | Periodic storage fees |
| Adjustment | Adjustment events | Billing corrections |
| Tax | Added automatically at invoicing | Sales tax, unless the customer is tax exempt |
| Discount | Entered by hand | Credits and negotiated reductions |
| Miscellaneous | Entered by hand | One-off charges that don't fit any other type |
Use miscellaneous for one-off charges
Miscellaneous exists so a one-off charge doesn't have to be mislabeled as Labor or Adjustment. Keeping those two types meaningful matters: Labor and Adjustment lines are the ones that trace back to real Manual Labor and Adjustment events, so padding them with unrelated charges makes an invoice harder to reconcile against its events.
These eight values are the complete list. The API rejects anything else with a validation error rather than saving it, so a line type that is not in the table above cannot reach an invoice.
Changing a line type on an existing invoice
The Line Items table on an invoice detail page has a Type column showing each line's type, and the type can be changed while editing:
- Open the invoice from Billing → Invoices.
- Choose Edit — available only while the invoice is in Draft status.
- Change the Type select on any hand-entered line, or use Add Line to add one.
- Save the invoice.
Event-sourced lines are locked
Lines that came from a billing event are marked (from event) and can't be retyped, edited, or removed — their type, amounts, and links belong to the event behind them. To change what a customer is billed for one of those, correct the event and re-invoice rather than editing the line.
Rate cards
A rate card sets per-customer pricing for warehouse services. A customer can have several, organized by dimension.
Rate card dimensions
| Dimension | Prices | Example |
|---|---|---|
| Receiving | Inbound handling charges | A per-pallet receiving fee |
| Outbound | Order fulfillment charges | A per-case shipping handling fee |
| Storage | Periodic storage charges | Monthly per-pallet storage |
| Labor | Labor charges | An hourly rate for manual work |
Labor rate cards aren't priced automatically
You can create a rate card on the Labor dimension, but automatic pricing doesn't consult it — only Receiving, Outbound and Storage are wired into it. A Manual Labor billing event still needs its amount entering by hand, whatever the Labor rate card says.
Tiered pricing
A rate card can price in tiers, each with its own min/max range:
- Per-unit pricing charges per unit within a tier.
- Flat-rate pricing charges a fixed amount per tier.
- A rate card can hold several tiers — for example, the first 100 pallets at $5, the next 100 at $4.
Managing rate cards
- Go to a customer's Billing Settings page. Rate cards are organized there by dimension — Receiving, Outbound, Labor, Storage.
- Choose Add Rate Card.
- Set the name, dimension, tiers, and pricing.
- Set an effective date for when the rate card takes effect.
- Save.
Storage charges
Storage charges bill a customer for warehouse space used over time.
Storage billing frequencies
| Frequency | Charges |
|---|---|
| Monthly | A full month, on the billing cycle date |
| Weekly | Each billing cycle |
| Daily | Each day stock is held |
Split monthly is not a fourth frequency — it's a switch you can turn on in addition to Monthly. With it on, stock arriving on or after the 16th is charged half a month's rate for that period, so a customer whose pallets land mid-month isn't billed as though they'd been there since the 1st.
Storage dimensions
Choose which of these to charge for:
| Dimension | Charges based on |
|---|---|
| Per pallet | Pallet positions occupied |
| Per case | Case count in storage |
| Per square foot | Floor space used |
| Per container | Full container storage |
Configuring storage billing
- Open a customer record and choose Billing Settings.
- Under Storage Billing, select the billing frequency.
- Enable the storage dimensions to charge for — Per Pallet, Per Case, Per Sq Ft, Per Container.
- On Monthly billing, optionally enable Split Monthly for pro-rated mid-month arrivals.
- Create a Storage rate card with the tiered pricing you want.
- Save.
Set a rate card for every dimension you enable
If you enable a storage dimension with no matching Storage rate card, the platform warns you. Without a rate card, that dimension's charges won't calculate correctly.
Generating storage charges
Storage charges generate on the configured frequency. The platform:
- Calculates inventory quantities for each storage dimension.
- Applies the customer's rate card tiers.
-
Creates billing events of type Storage Charge.
The events appear in Billing Events, ready to invoice.
Customer billing settings
Every customer has a billing settings page, reached from their customer record.
What it configures
| Setting | Controls |
|---|---|
| Billing Cycle | Monthly, quarterly, or a custom billing period |
| Payment Terms | NET30, NET60, and the other terms set on the customer |
| Tax Rate | The tax percentage applied |
| Consolidation | Whether events are consolidated onto a single invoice |
| Storage Billing | Frequency and dimension settings |
| Rate Cards | Organized by dimension, with active and inactive sections |
Accessing billing settings
- Go to Catalog → Customers.
- Choose a customer to open their record.
- Choose Billing Settings.
- Set the billing parameters and rate cards.
Getting it right
Rate cards. Review them annually so pricing reflects current costs. Use tiers to offer volume discounts. Set effective dates on a rate change so historical billing keeps using the old rate. Keep inactive rate cards on file rather than deleting them — you'll want the audit trail.
Storage billing. Match the storage dimensions to how you actually measure space in your warehouse. Use Split Monthly so fluctuating mid-month inventory is billed fairly. Review storage charges before invoicing to catch anomalies early. Document rate agreements with customers so a dispute has something to point to.
Invoicing. Invoice on a regular cadence rather than letting events pile up. Attach supporting documents — BOLs, receipts — for transparency. Use Bill To when a third party pays for the customer's services.
Accounting integration
Invoices generated here can be pushed into QuickBooks Desktop rather than re-keyed. Export is a deliberate action, not automatic — see QuickBooks Desktop integration for connecting the provider, choosing the service item and A/R account exported invoices post against, and mapping customers.
Related guides
- QuickBooks Desktop integration - Connect accounting and export invoices
- Customer management - Manage customer records
- Company branding - Logo and company info on invoices
- Settings - System-wide billing configuration
- Invoice Email settings - Edit the subject and body of invoice email drafts
- Reports - Financial and billing reports