Packing and shipping
Take picked stock waiting in a staging area, pack it, print its label, and hand it to the carrier.
Which shipping page do I want?
This page is the floor work at the staging area: packing what's been picked, printing the label, and handing it over.
To create and dispatch the shipment itself — manifesting with a carrier, printing documents, and tracking delivery — see Shipping and outbound.
Before you begin
The order needs to be picked and staged first — see Pick lists. Have your packing materials, a scale, and a label printer to hand.
There is no separate packing screen
Packing happens at the staging area, not in a dedicated packing station in the platform. You work through the LPNs sitting in that area, packing the goods physically and generating each label as you go.
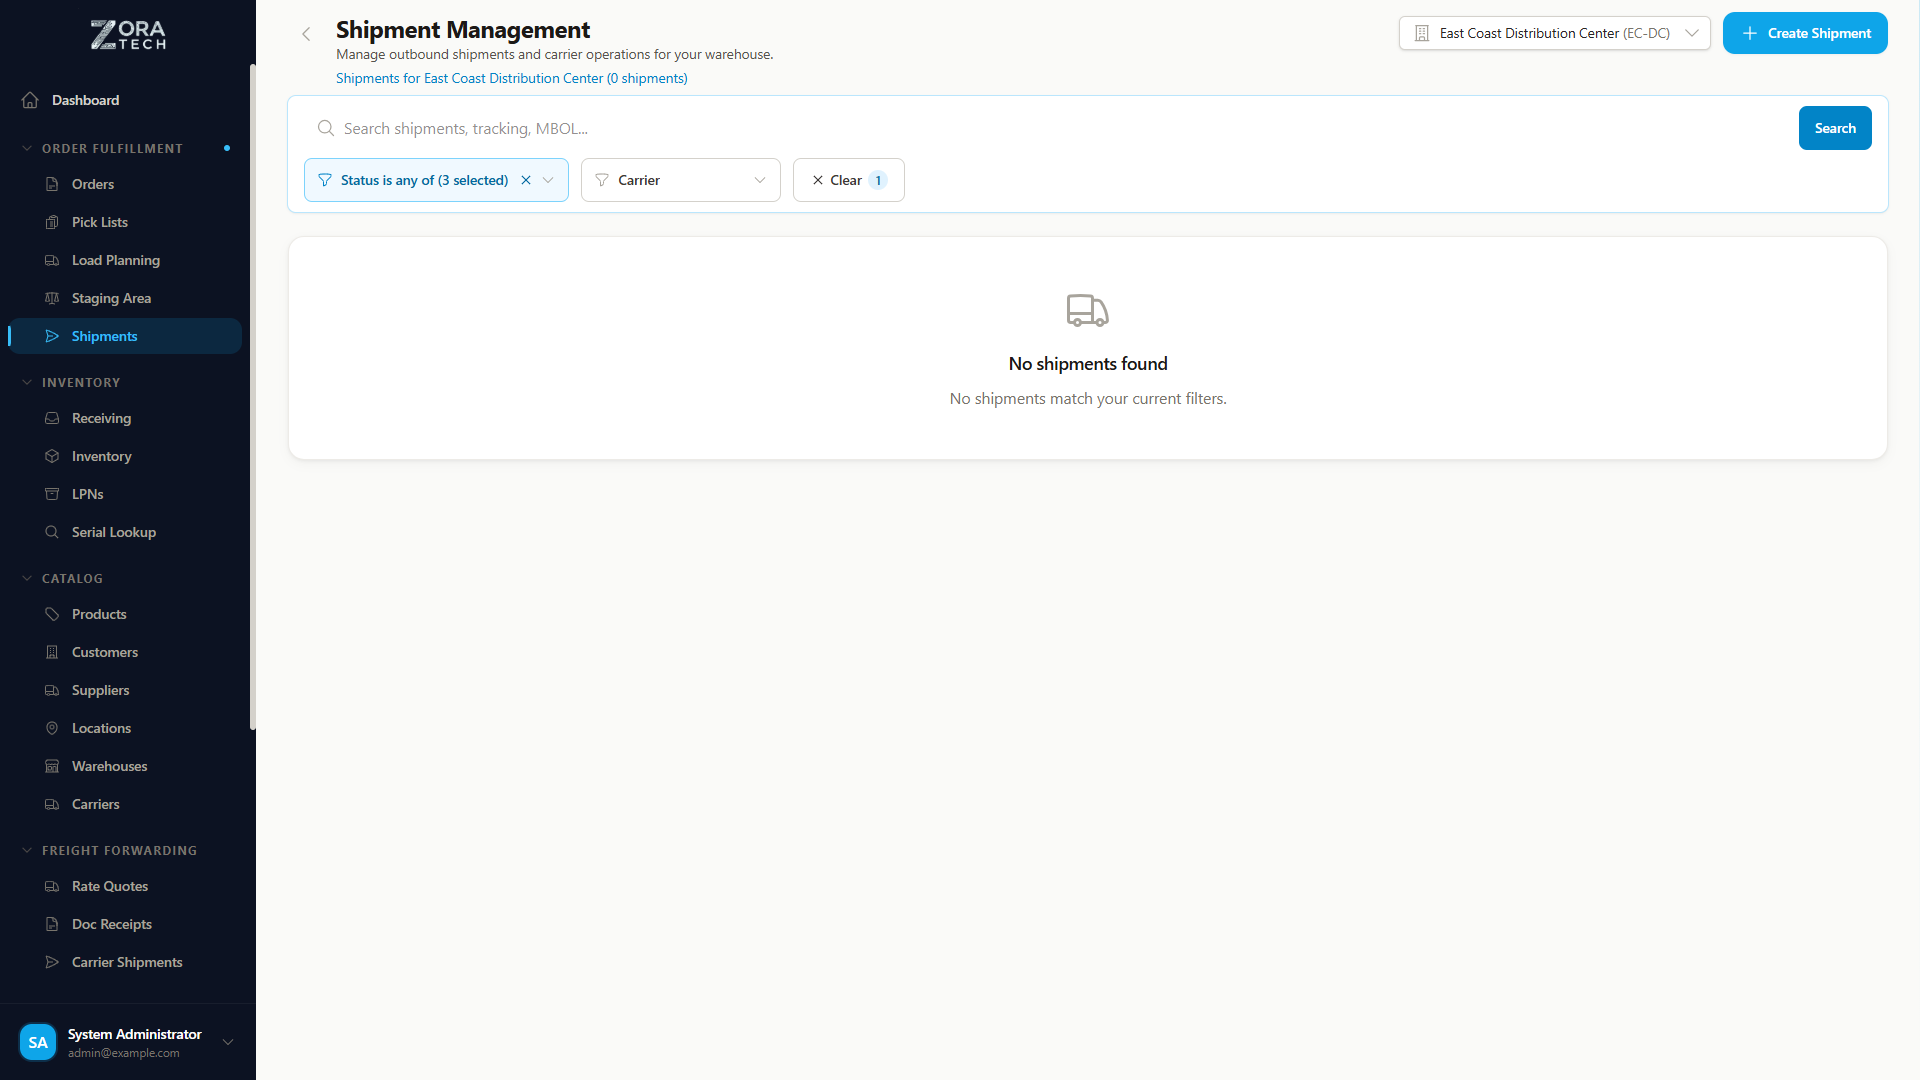
How an order reaches you
A picker finishes a pick list and moves the stock into a staging area on one or more LPNs. The order is sitting at Packing, and its LPNs are waiting in that area for someone to deal with.
Open the staging area to see what's waiting.
Packing an order
1. Find the LPN
Open the staging area and find the LPN for the order you're packing. Each one shows the orders it holds, so you can tell at a glance whether it's a single order or several.
2. Check the contents against the order
Compare what's physically on the LPN against the order lines before you seal anything. It is far cheaper to catch a short pick here than after the carrier has it.
| What you find | What to do |
|---|---|
| Something is missing | Don't pack a partial order without saying so. Check the pick list for an unfinished line, then tell your supervisor. |
| Something is damaged | Set it aside, photograph it, and tell your supervisor. Don't ship it. |
| There's an extra item | Check it isn't another order's stock that ended up on the same LPN. |
3. Combine LPNs if you need to
Where one order is spread across several LPNs, use Consolidate in the staging area to bring them together before you pack, so the order ships as one unit.
4. Pack the goods
Choose a box that fits with about 5 cm of room around the contents for cushioning. Too big wastes material and invites damage in transit; too small stresses the seams.
- Wrap items individually where they can rub or knock together.
- Fill the voids so nothing shifts — a packed box shouldn't rattle when you tip it.
- Put heavy items at the bottom, and keep them away from the walls of the box.
- Tape the seams along the center and both edges.
Check for hazmat before you seal the box
Anything with a UN number has handling and labeling rules of its own, and some goods can't travel by air at all. See Hazmat management and Shipment compliance before packing.
5. Weigh and measure
Weigh the sealed box and measure it. Carriers price on both weight and size, and they re-weigh at their depot — a wrong figure comes back to you as an adjustment on the invoice.
6. Generate the shipping label
From the staging area, choose Generate Shipping Label on the LPN.
The order moves to Ready to ship.
Ready to ship, not Shipped
Printing the label doesn't mean the order has gone. It stays at Ready to ship until it's added to a shipment and that shipment is dispatched — see Shipping and logistics.
7. Attach the label and move the box
Stick the label on the largest flat surface, clear of seams, edges, and tape, with no wrinkles over the barcode. Cover or remove any older labels on a reused box.
Then move the box to the outbound area for its carrier.
Multiple boxes for one order
Where an order won't fit in one box, each box gets its own label. Mark them "1 of 3", "2 of 3" and so on so the customer knows whether anything is still in transit, and keep them together at the outbound area so they leave on the same collection.
What happens next
The packed order joins a shipment, gets manifested, and is dispatched to the carrier. That's covered in Shipping and logistics.
For LTL and freight rather than parcel, see Freight forwarding and Load planning.
Getting it right
Check before you seal. Every error caught at the bench is cheaper than one caught by the customer.
Weigh accurately. Guessed weights come back as carrier adjustments weeks later, and nobody remembers which order caused them.
Keep the label clean. A barcode over a seam or under wrinkled tape is a barcode the carrier's scanner rejects.
Don't ship an incomplete order silently. Tell someone, so the customer can be told.
Troubleshooting
| Problem | What to check |
|---|---|
| The LPN isn't in the staging area | Confirm the pick list was completed and the stock was actually moved to staging. Check you're in the right warehouse. |
| The label won't generate | The order needs to be picked and staged first. Check the shipping address is complete on the order. |
| The label printed blank or skewed | Check the label stock matches the template size, and that the printer is calibrated. See Templates. |
| The order is still at Packing after I printed a label | Refresh the staging area. If it hasn't moved to Ready to ship, the label generation didn't complete — try again. |
| Two orders' stock is on one LPN | Consolidate or split the LPN before packing, so each order ships separately. |
Related guides
- Order processing - The complete order workflow
- Shipping and logistics - Shipments, manifests, and dispatch
- Staging areas - Where picked stock waits
- Carrier management - Carrier setup
- Mobile workflows - Working on a phone
Need more help? Email support@zoratech.io, or check the FAQ and troubleshooting guide.