Receiving shipments
Scan a shipment into your warehouse: check it in, capture serial and lot numbers, complete the receipt, and put the stock away.
Which receiving page do I want?
This page covers doing the work on the floor — a truck is at the dock and you have a receiving order to process.
To create or manage receiving orders — entering a new order, importing from a purchase order, reviewing order details and statuses, or checking permissions — see Managing receiving orders.
Before you begin
You need access to the Receiving page — typically given to warehouse staff and receiving clerks. Budget 15–30 minutes per shipment. Use the mobile app where you can: it's built for the floor, with camera barcode scanning and larger touch targets.
Before you start
- Check the shipment is expected in the receiving queue.
- Clear and organize the receiving area.
- Have your mobile device or barcode scanner ready.
- Check for special handling instructions.
- Review the packing slip or the Advance Shipment Notice (ASN), if you have one.
Step 1: Locate the receiving order
- Open the Zora Tech app.
- Tap Receiving in the bottom navigation.
- Find the expected shipment in the list.
- Tap it to open the receiving order.
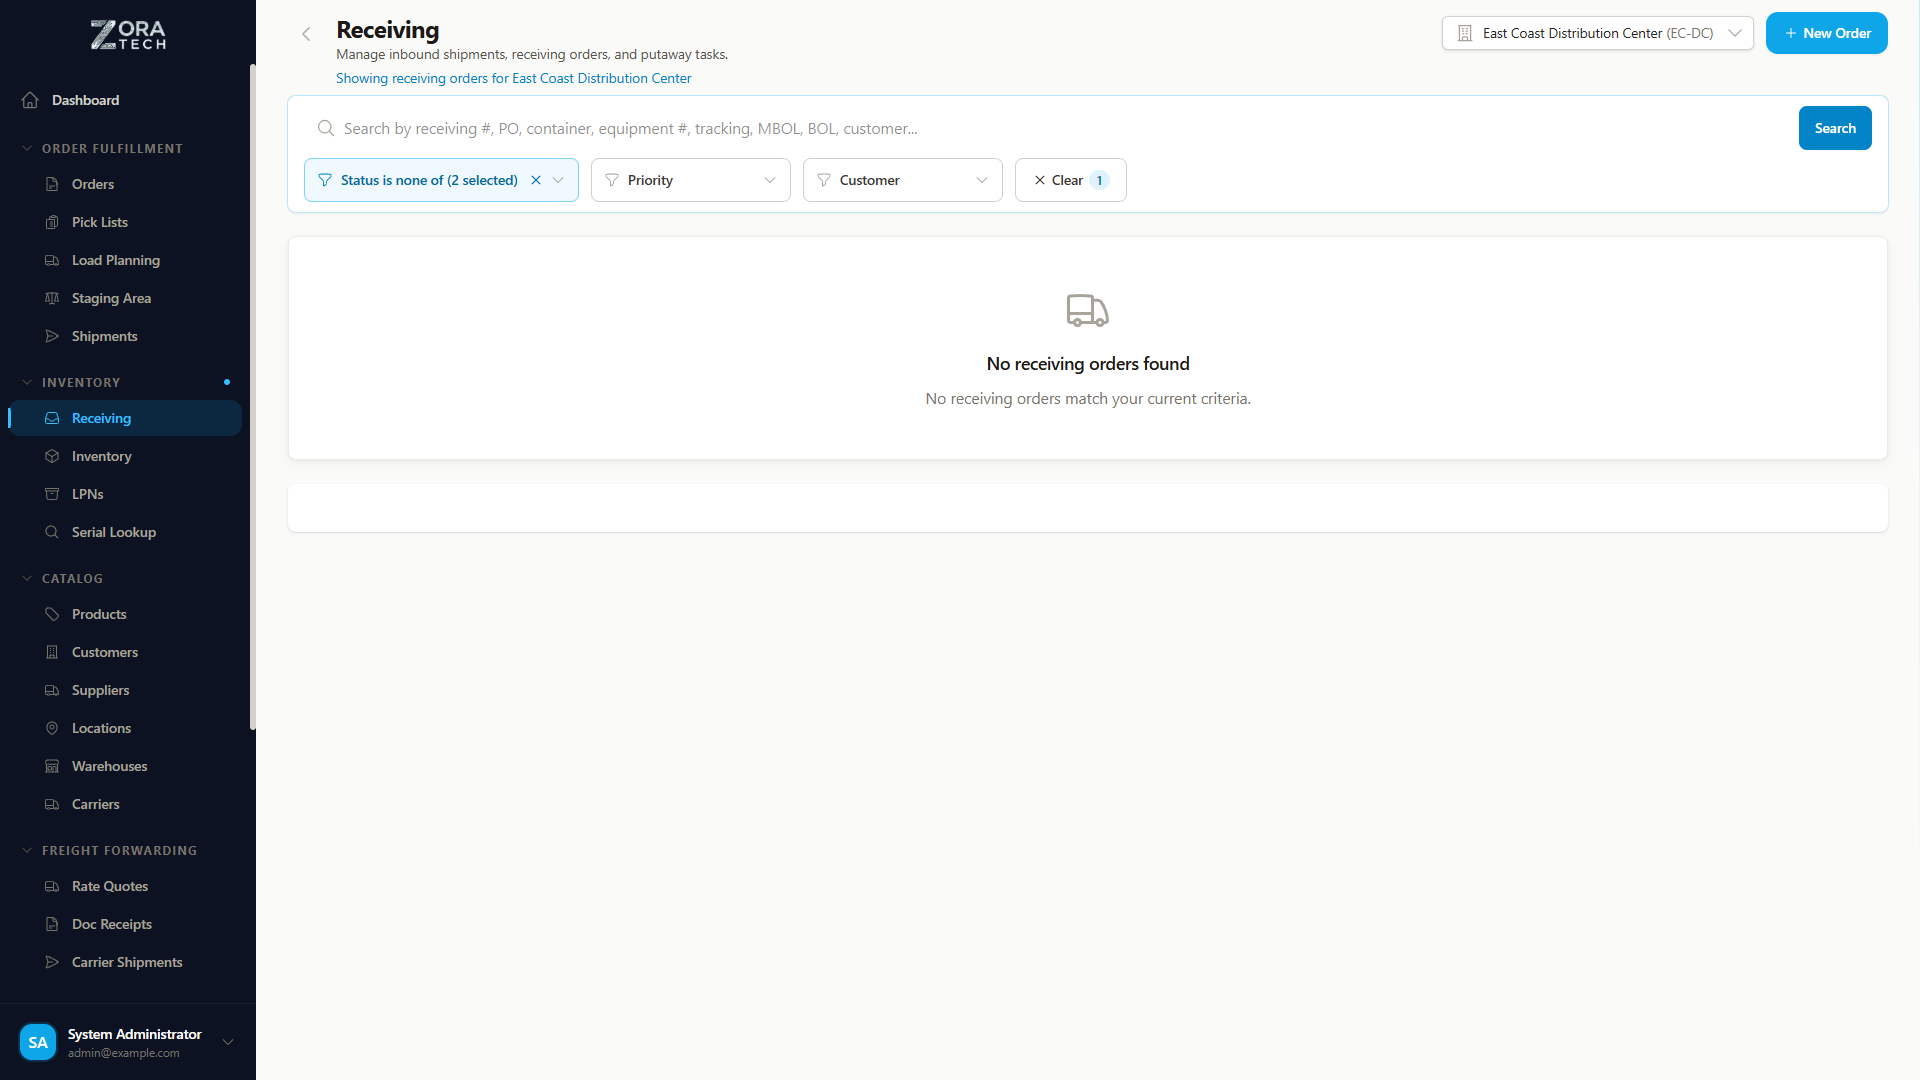
- Go to Receiving in the sidebar.
- Open the receiving queue.
- Click the receiving order to open it.
What you'll see
| Field | Shows |
|---|---|
| Receiving Order Number | The order's identifier, such as RCV-0001 |
| Supplier/Vendor Name | Who shipped it |
| Expected Items Count | How many line items to expect |
| Due Date | When the shipment is expected |
| Status | Pending, In Progress, or Completed |
| Equipment Number | The trailer or container number, if entered |
No matching shipment?
Everything you receive has to be checked in against a receiving order, so create one first.
- Choose Add Receiving Order.
- Enter the supplier and what has turned up.
- Receive against it as normal.
- Tell your supervisor the shipment arrived unannounced.
Step 2: Scan products
- Tap Start Receiving.
- Scan the product barcode with your camera. The platform identifies the product and shows its details.
- Enter the quantity received.
- Tap Add to Cart.
- Repeat for every product in the shipment.
If a barcode won't scan
Clean the barcode, fix the lighting so there's no glare or shadow, or switch to camera mode. If the barcode is damaged, enter the SKU by hand.
For each item you scan, check it against the physical shipment:
- The product name matches the item in your hand.
- The quantity matches the packing slip.
- The item isn't damaged.
Don't force-receive a mismatch
Report anything that doesn't match the order to your supervisor and create an exception report — don't receive it anyway.
Step 3: Record equipment information
For freight or truckload shipments:
- Enter the Equipment Number — the trailer, container, or railcar number.
It's saved with the receiving order for reference and audit purposes.
Why it matters
The equipment number helps you reconcile a shipment with carrier records, resolve discrepancies, and keep a complete chain of custody for inbound freight.
Step 4: Handle serial & lot tracked items
Serial number tracking
For products that need serial numbers:
- Scan each serial number barcode, or type them in by hand, one per line.
- Review the list for accuracy.
- Tap Save Serial Numbers.
| Rule | Detail |
|---|---|
| Unique | The platform checks and rejects duplicates |
| Permanent | Can't be changed once saved |
| One per item | Every individual unit gets its own serial number |
| Required | For high-value or warranty items |
Lot number tracking
For products with lot tracking enabled:
- Enter or scan the Lot Number — required for lot-tracked products.
- Enter the Expiration Date — optional, recommended for perishable goods.
- Enter the Quantity for this lot.
- Tap Save Lot Information.
To receive more than one lot of the same product on a single receiving order:
- Enter the first lot's number, expiration date, and quantity.
- Tap Add Another Lot for each additional lot.
- Make sure the quantities across all lots add up to the expected receiving quantity.
A receiving order can mix lot-tracked and non-lot-tracked products — the platform only asks for lot information where lot tracking is turned on.
| Rule | Detail |
|---|---|
| Required | When the product has lot tracking enabled |
| Case-insensitive | LOT-A and lot-a are the same lot |
| Shared | Unlike serial numbers, several items can share one lot number |
| Expiration date | Optional, but recommended for perishables |
| Carries forward | Lot information follows the stock into inventory and putaway automatically |
| Used for | Recalls and FEFO (First Expired, First Out) picking |
Serial vs. lot tracking
| Type | Tracks |
|---|---|
| Serial | Individual items — laptops, phones |
| Lot | Batches — food, medicine, chemicals |
Step 5: Review & complete receiving
Before you complete the receipt:
- Review every item in the receiving cart.
- Check quantities against the packing slip.
- Check for missing items.
- Note any discrepancies or damage.
Confirm before you tap Complete Receiving:
- Every expected item is scanned.
- Quantities are accurate.
- Serial and lot numbers are entered correctly.
- Damage or defects are documented.
- The packing slip is attached, if it's a physical one.
Tap Complete Receiving.
The platform creates inventory transactions and moves the items to Received status. They're ready for putaway.
Step 6: Putaway (optional)
If the platform is configured for immediate putaway, it prompts you as soon as you complete a receipt.
- Review the suggested storage location, or choose an alternative.
- Scan the location barcode to confirm it.
- Place the item in the location.
- Tap Confirm Putaway.
- Repeat for every item.
Each confirmed item moves out of the putaway queue and into that location.
Smart Location Selector
| Mode | How it works |
|---|---|
| Auto-Suggest (default) | Recommends the best location, with a suitability score (0–100%), the distance from receiving, and the available capacity. Can auto-select immediately or wait for your confirmation. |
| Manual Search | Search locations by code, aisle, or zone, and browse a scrollable list with capacity and status for each. |
| Barcode Scan | Scan a location barcode with your camera or scanner. You get haptic feedback on a successful scan, and the platform checks the location is available. |
You can also scan a License Plate Number (LPN) barcode directly during LPN selection to find it, or search for a specific LPN code — useful when the LPN isn't part of your current receiving order.
The platform suggests a location based on:
| Factor | Weight | Why it matters |
|---|---|---|
| Location priority | 40% | The putaway priority set on the location itself |
| Empty location | 25% | Prefers a location with nothing in it |
| Same product already there | 20% | Keeps one SKU together rather than scattered |
| Capacity utilization | 10% | Aims for a location that ends up 60–80% full |
| Pick face | 5% | Favors pick faces for products with a storage class |
Putaway rules you have configured adjust the score on top of that.
Distance isn't part of the score
The suggestion card has a distance field, but nothing currently calculates it — the score is based on the five factors above. Don't assume the top suggestion is the shortest walk.
When to override the suggestion
Follow the suggestions where you can, but use manual search when you know better: keep heavy items on lower shelves, and leave room where you know more stock is coming.
If you skip putaway
Items stay in Received status and you can put them away later from the Putaway Queue. The platform assigns them a temporary staging location in the meantime. Finish putaway before the items are needed for picking.
Step 7: After receiving
- Attach the packing slip to the receiving order, if it's a physical one.
- Update the receiving notes with any discrepancies.
- Report damage to your supervisor.
- Clear the receiving area for the next shipment.
- File physical documents per your company's policy.
Tell your supervisor about:
- Significant quantity discrepancies
- Damaged or defective items
- Wrong products received
- Missing expected items
- Quality concerns
Common situations
Partial shipment
- Receive the quantities you have.
The platform marks the remainder as backordered and tracks it automatically until it arrives.
Damaged items
- Photograph the damage.
- Set the items aside — don't put them away.
- Create a damage report.
- Notify your supervisor to start a Return Merchandise Authorization (RMA).
Wrong product received
- Don't force-receive it.
- Photograph the item and the packing slip.
- Create a discrepancy report.
- Contact your supervisor.
- Set the item aside — don't put it away.
No packing slip
- Receive against the receiving order as normal.
- Scan everything that arrived and enter the quantities you actually count.
- Note "No packing slip" against the receipt.
Your supervisor reconciles it against the purchase order later.
Troubleshooting
| Problem | What to check | Why it happens |
|---|---|---|
| Barcode won't scan | Clean the barcode, fix the lighting, or switch to camera mode. Enter the SKU by hand if it's still unreadable. | Poor lighting, a dirty lens, or a low-quality label from the supplier. Report bad labels so your supervisor can raise it with them. |
| Serial number already exists | Recheck the serial on the physical item for a typo and scan it again. Report a genuine duplicate to your supervisor. | The item was received before, the vendor reused a serial number, or it was mistyped. |
| Product not in system | Check the SKU on the label and search by product name. Ask your supervisor or admin to add it if it's genuinely new, then resume receiving. | The product hasn't been added to the catalog yet. |
| System slow or frozen | Check your internet connection, refresh the page or app, and save your work if you can. Restart the app if it's still stuck, and contact IT if that doesn't fix it. | — |
Getting it right
Move faster. Pre-stage items by SKU before you start scanning. Use two people on a big shipment — one scans, one verifies. Learn the common barcodes so you can recognize products on sight, and keep the workspace organized so you're not hunting for anything mid-scan.
Stay accurate. Double-check quantities before you confirm, and make sure product details match the packing slip. Count twice on high-value items, use a scale for bulk quantities where you have one, and photograph anything you flag as a discrepancy.
Related guides
- Mobile receiving workflow - The mobile-optimized process
- Managing receiving orders - Creating orders, order details, and statuses
- Barcode scanning tips - Improve scanning accuracy
- LPN receiving - Container-based receiving
- Inventory management - Viewing stock once it's put away
Need more help? Email support@zoratech.io, or check the FAQ and troubleshooting guide.