Load planning
Decide which LPNs go on a truck, track weight and cube as you add them, and turn the finished plan into pick lists for the floor.
Before you begin
Load planning starts from a shipment — open the shipment you're loading before you create a load plan. See Order processing for where load planning fits into freight and truckload orders.
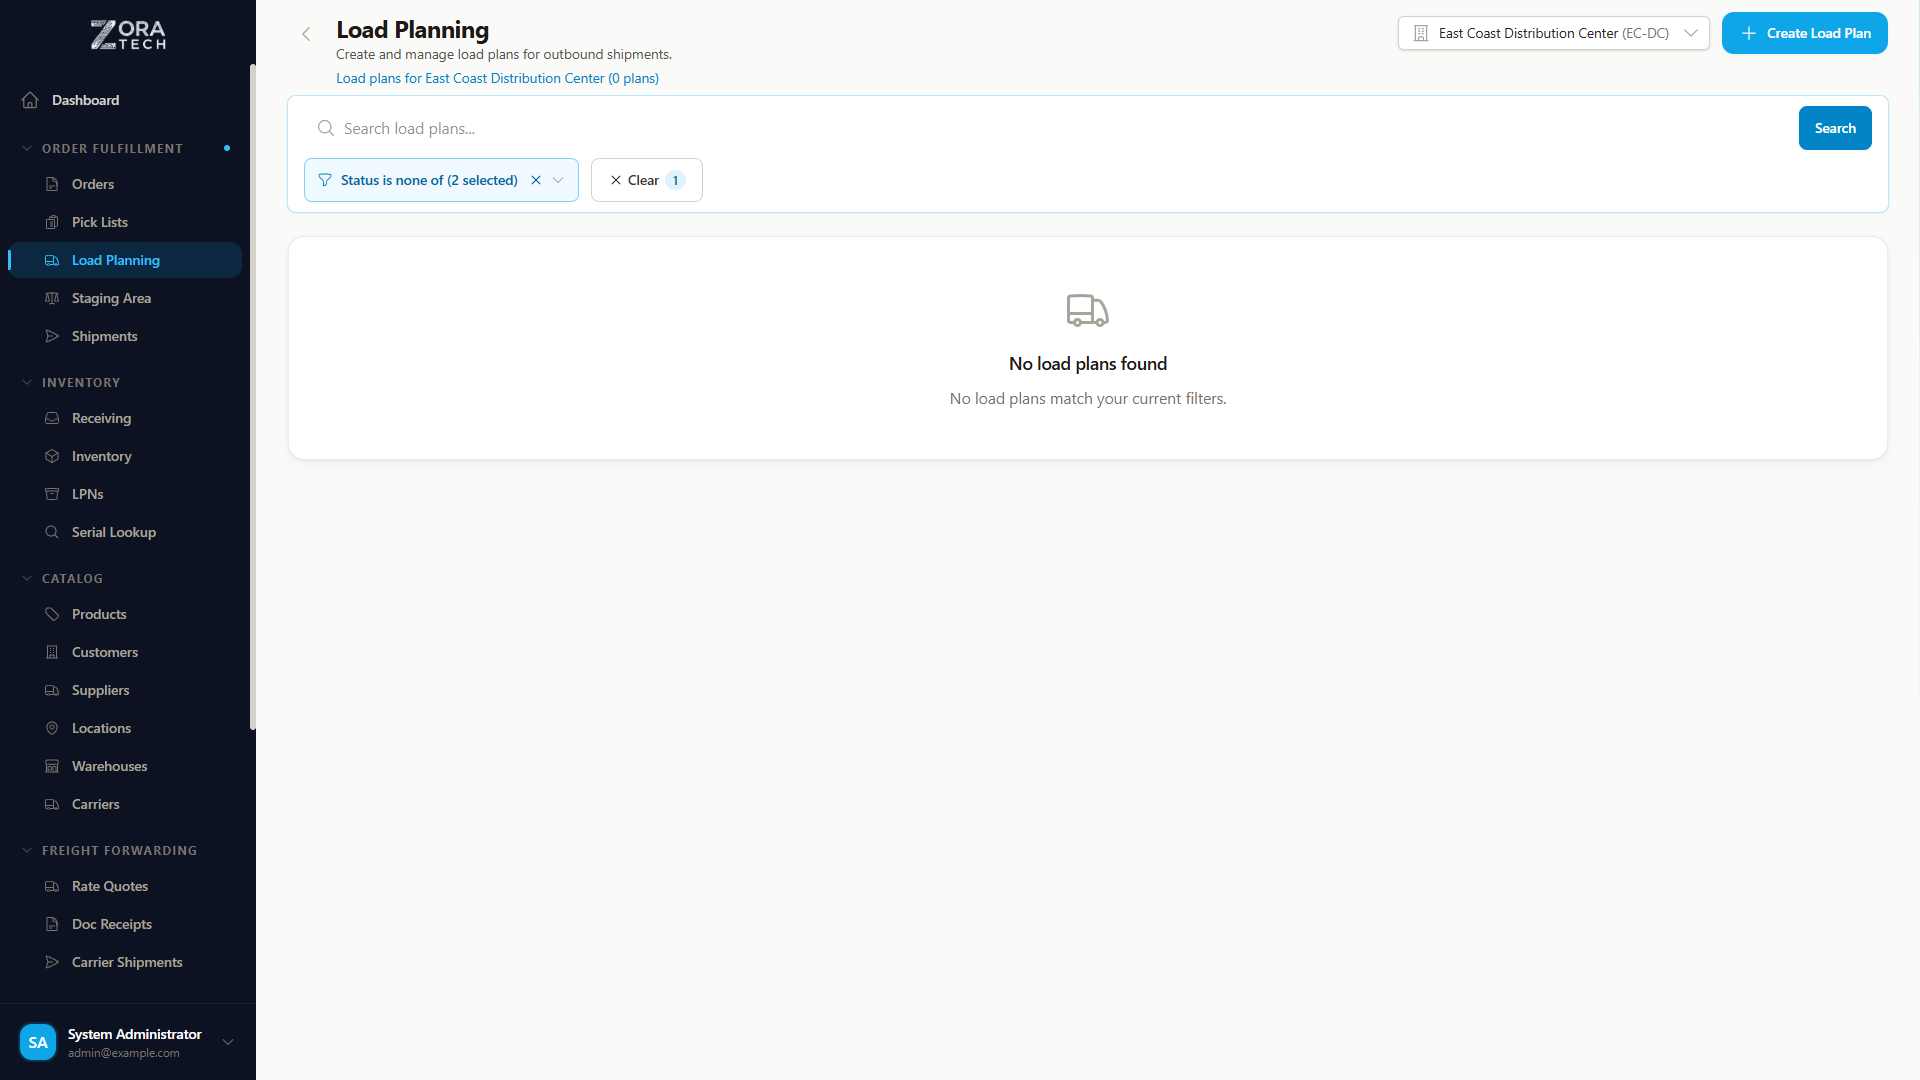
A load plan links to a shipment and defines which License Plate Numbers (LPNs) — containers — should be picked, staged, and loaded onto a truck or trailer. The platform tracks weight and cube utilization as you add LPNs, so you can get the most out of the trailer without going over.
Load plan lifecycle
stateDiagram-v2
    [*] --> DRAFT: Create
    DRAFT --> PLANNING: Begin Planning
    PLANNING --> READY: Finalize Selection
    READY --> PICKING: Generate PickList
    PICKING --> STAGING: Picks Complete
    PICKING --> LOADING: Skip Staging
    STAGING --> LOADING: LPNs Staged
    LOADING --> COMPLETED: All Loaded
    PLANNING --> CANCELLED: Cancel
    READY --> CANCELLED: Cancel
DRAFT --> CANCELLED: Cancel| Status | Means |
|---|---|
| DRAFT | Load plan created, no LPNs selected yet |
| PLANNING | Actively selecting and organizing LPNs |
| READY | LPN selection finalized, ready for pick list generation |
| PICKING | Pick list generated, warehouse workers executing picks |
| STAGING | Picked LPNs being moved to staging area |
| LOADING | LPNs being scanned and loaded onto the truck |
| COMPLETED | All LPNs verified and loaded |
| CANCELLED | Load plan cancelled |
Creating a load plan
Starting the load plan
- Go to Shipments and select the shipment.
- Choose Create Load Plan.
The platform creates a load plan in DRAFT status, linked to that shipment.
Setting capacity limits
| Field | What it limits | Example |
|---|---|---|
| Max Weight | The load's maximum weight, in pounds | 45,000 lbs |
| Max Cube | The load's maximum volume, in cubic feet | 2,500 cu ft |
Capacity limits are soft
The platform warns when a limit is exceeded, but doesn't stop you from selecting more LPNs — it leaves the judgment call to you.
Selecting LPNs
Browsing available LPNs
The LPN selection panel shows every available container with status IN_INVENTORY or AT_STAGING. Each LPN card shows:
| Field | Shows |
|---|---|
| LPN number and barcode | Identifies the container |
| Location | Warehouse location or staging area |
| Contents | Products, SKUs, and quantities |
| Weight and volume | Totals for the container |
| Product details | Dimensions, hazmat flags, fragile warnings, temperature requirements |
| Lot/expiration | When it applies |
Adding LPNs to the load
- Choose Add to Load on any available LPN card.
- Check the updated weight and cube utilization.
The capacity progress bars update immediately.
Partial LPN selection
For multi-SKU LPNs, you can select only part of the container's contents:
- Choose Partial Select on the LPN card.
- Adjust the quantity for each product in the LPN.
- Confirm the partial selection.
The platform calculates weight and volume for the partial selection and stops the same stock being over-allocated across multiple load plans.
Partial selections persist
A partial selection stays in place until you cancel it. The remaining inventory stays available for other load plans.
Warning badges
LPN cards show visual indicators for special handling:
| Badge | Color | Meaning |
|---|---|---|
| HAZMAT | Orange | Contains hazardous materials |
| FRAGILE | Purple | Requires careful handling |
| EXPIRING | Red | Contains items nearing expiration |
Capacity tracking
The load plan shows weight and cube as progress bars, each with a percentage utilization number. The bars change color as capacity fills up:
| Color | Range | Means |
|---|---|---|
| Green | 0–75% | Within safe limits |
| Yellow | 75–95% | Approaching capacity |
| Red | 95%+ | At or over capacity |
Generating pick lists
Once LPN selection is finalized:
- Move the load plan to READY status.
- Choose Generate PickList.
The platform creates a pick list of type LOAD with items for every selected LPN, and the load plan moves to PICKING.
Each pick list item includes the source location for the LPN, its target destination (staging area or direct to shipment), the LPN barcode for scanning, and the quantity for any partial selection.
Staging workflow
By default, picked LPNs route through a staging area before loading:
- The picker scans the LPN at the source location.
- Moves it to the designated staging area.
- Staging verification confirms it arrived.
The load plan moves to STAGING status once every pick is complete.
Skip staging
For time-sensitive loads, turn on Skip Staging to route LPNs straight from the pick location to the shipment:
- Toggle Skip Staging when you create or edit the load plan.
- Picked LPNs go directly to LOADING status.
Barcode scanning is still required for verification.
Loading and verification
- Open the load plan's Loading view.
- Scan each LPN barcode as it's loaded onto the truck.
- The platform checks the LPN belongs to this load plan.
- Watch the progress tracker for loaded vs. remaining LPNs.
- Once every LPN is verified, the load plan moves to COMPLETED.
Every LPN needs a scan
The platform won't let you complete the load until every assigned LPN is scanned and verified.
Load sequence management
To set the order LPNs get loaded in:
- Open the Load Sequence panel.
- Drag and drop LPNs to reorder them.
- Put the LPNs that should be loaded last — first off the truck — at the top of the list.
This matters most on multi-stop deliveries, where unloading order matters.
Working across warehouses
Load plans respect the warehouse you're currently working in. Available LPNs are filtered to that warehouse, and staging areas are routed accordingly.
Getting it right
Plan before picking. Finalize LPN selections before you generate pick lists, to avoid rework.
Watch capacity. Keep weight utilization under 95% to leave room for packaging materials.
Split LPNs only when you need to. A partial selection adds handling — use it when it's genuinely necessary, not by default.
Check the load sequence for multi-stop routes before you generate picks.
Use staging for a quality check before loading, unless a real time constraint means you need to skip it.
Troubleshooting
| Problem | What to check |
|---|---|
| LPN not showing in the available list | Confirm its status is IN_INVENTORY or AT_STAGING, and that it's in the current warehouse. |
| Capacity exceeded warning | Review the selected LPNs — consider partial selections or splitting the load across multiple plans. |
| Pick list generation fails | Confirm the load plan is in READY status and every selected LPN is still available. |
| Barcode scan rejected during loading | Confirm the LPN belongs to this load plan and hasn't been reassigned. |
| Partial selection quantities incorrect | Check the product quantities don't exceed what's actually available. |
Related guides
- Order processing - Where load planning fits into fulfillment
- Pick lists - Working the pick lists a load plan generates
- LPN container management - Building and managing LPNs
- Packing and shipping - What happens after a load ships
Need more help? Email support@zoratech.io, or check the FAQ and troubleshooting guide.